
The HoloToolkit offers a great many, simple ways to add what seems like extremely complex features of the HoloLens, but it can be a bit tricky if you're new to Windows Holographic. So this will be the first in an ongoing series designed to help new developers understand what exactly we can do with the HoloLens, and we'll start with voice commands.
Using voice commands is actually quite simple thanks to the HoloToolkit, so let's see how it's done. To follow this tutorial, you will need to have a fresh project with the HoloToolkit installed. If you have any questions in this regard, make sure your setup is all good, and that you've played around in Unity a bit (you can skip steps 5 and 6).
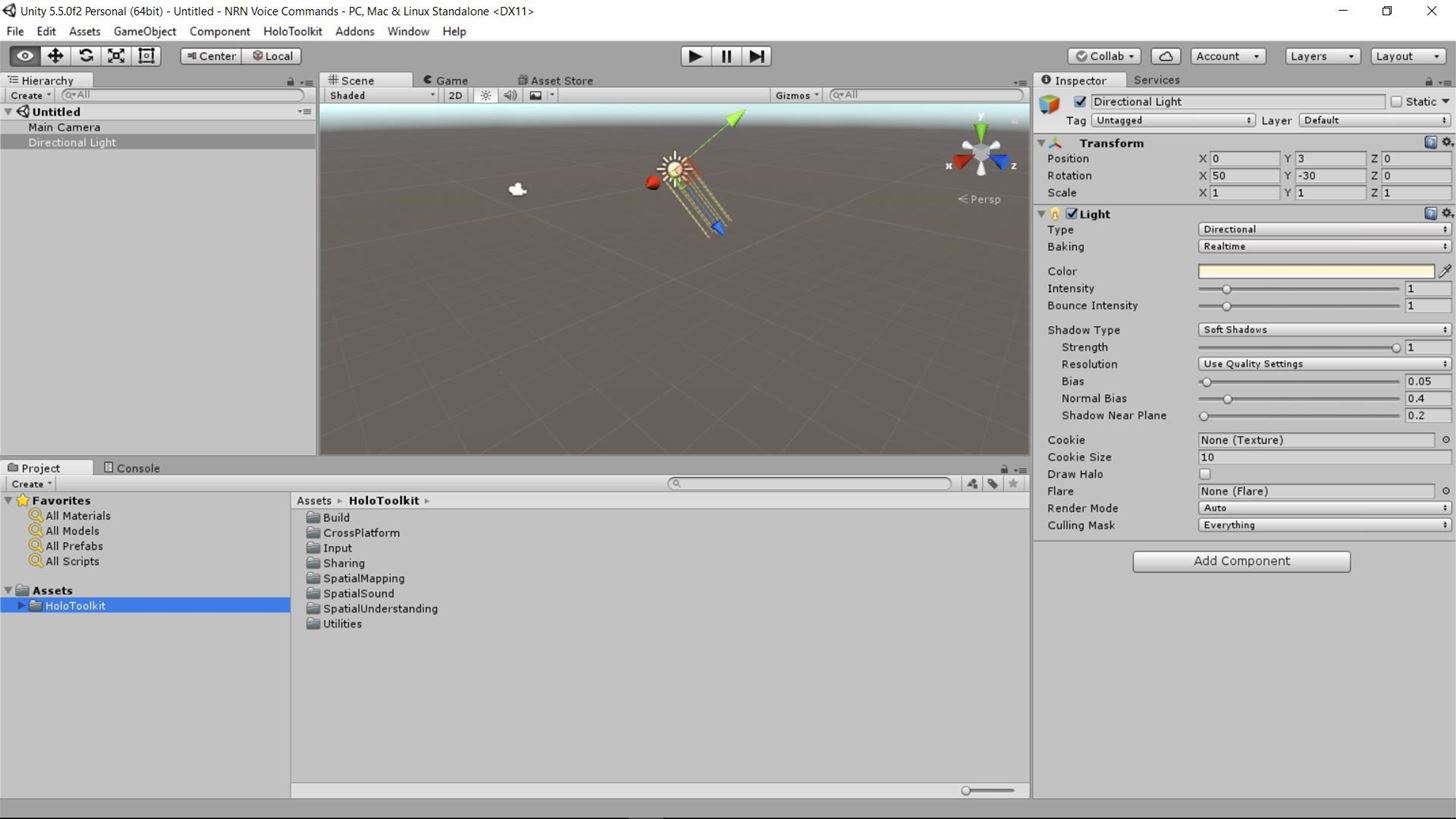
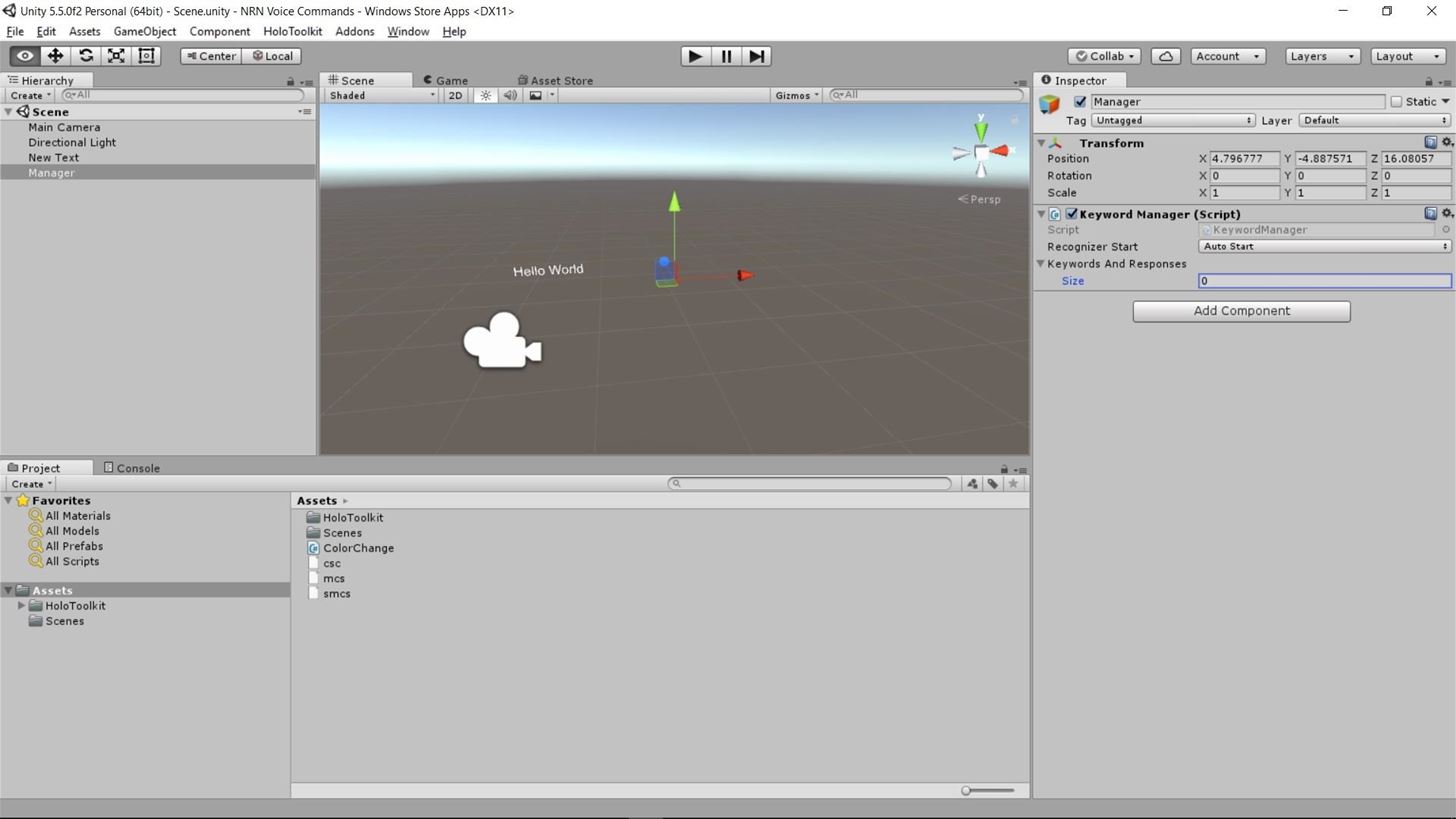
Once you are ready to start, Unity should look something like this:
For this project, we are going to make a simple "Hello World" and have the colors change based on a few keywords.
Step 1: Create a 3D Text That Says 'Hello World'
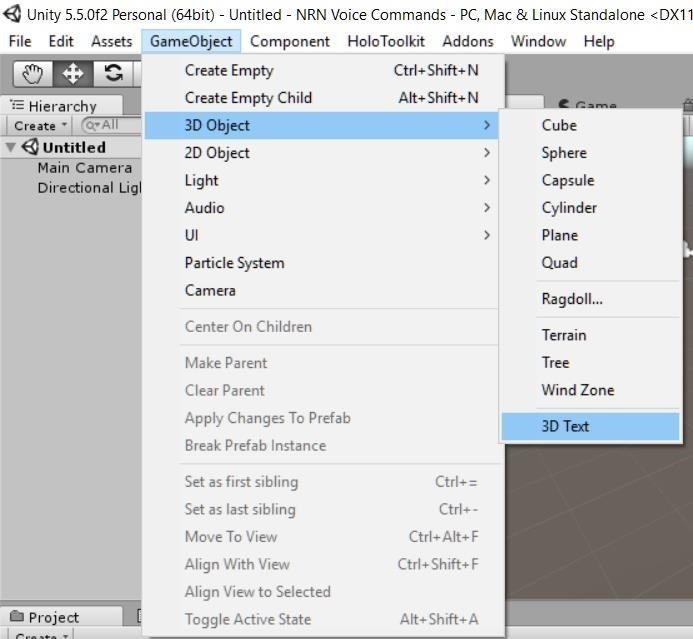
Select "GameObject" from the main menu bar and select "3D Object," then "3D Text."
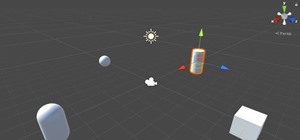
When that is done, you should see something that looks like this:
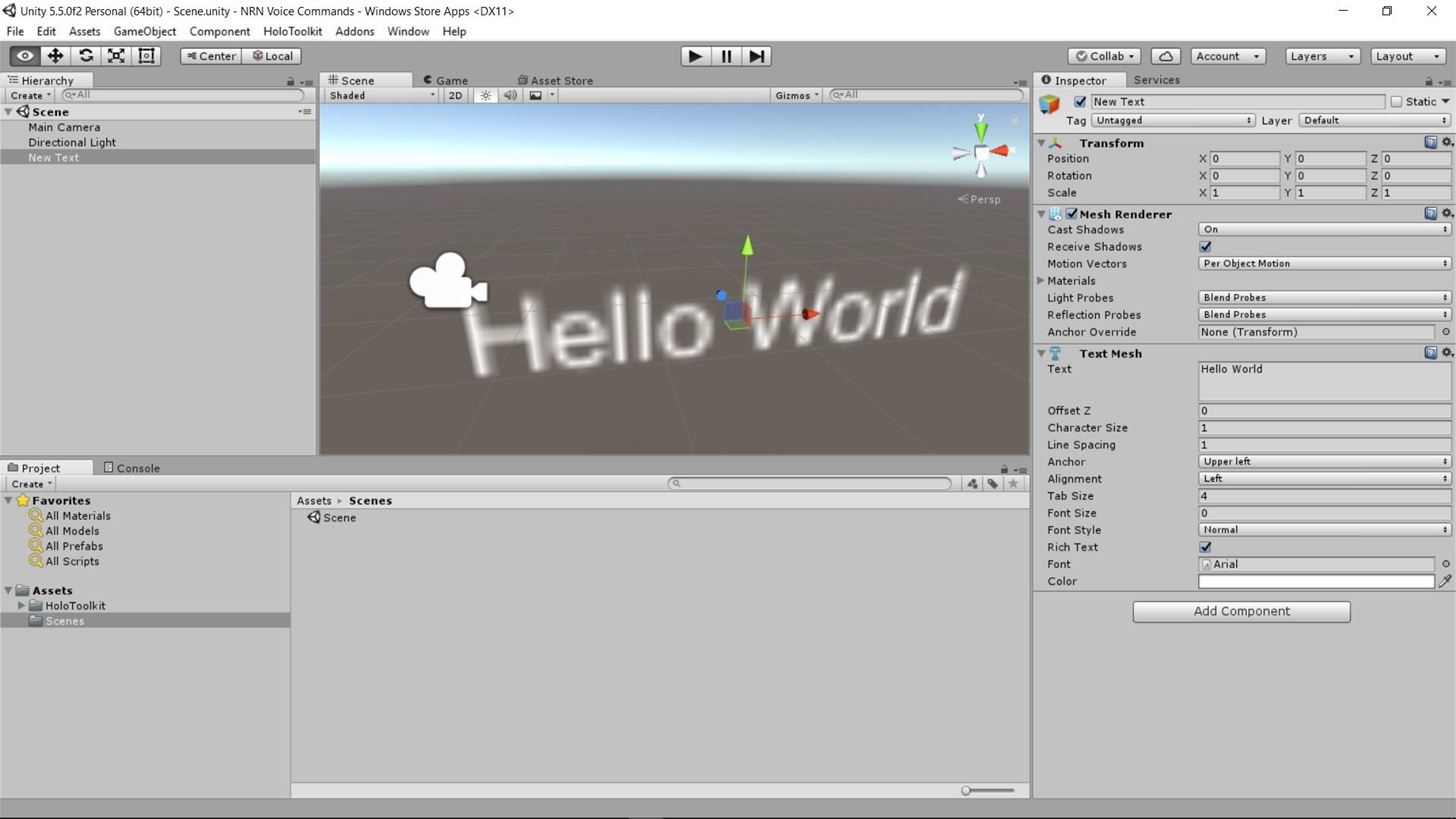
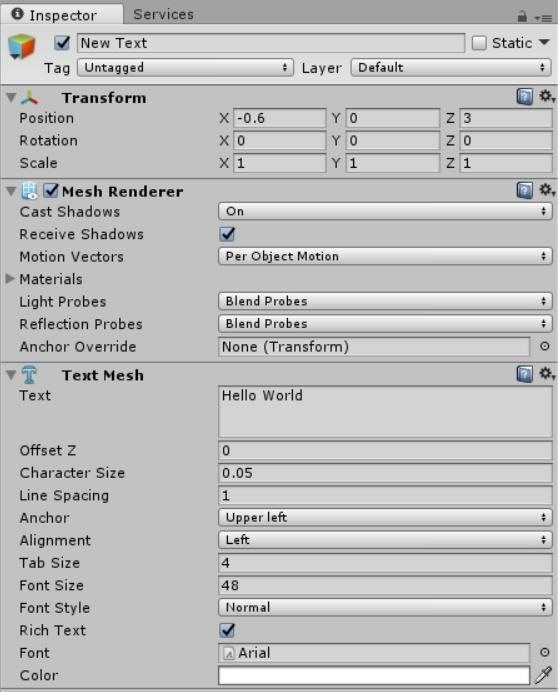
We need to make a few quick adjustments to our "Hello World" object.
In the Inspector window, under the Transform heading:
- Change the X position to -0.6.
- Change the Z position to 3.
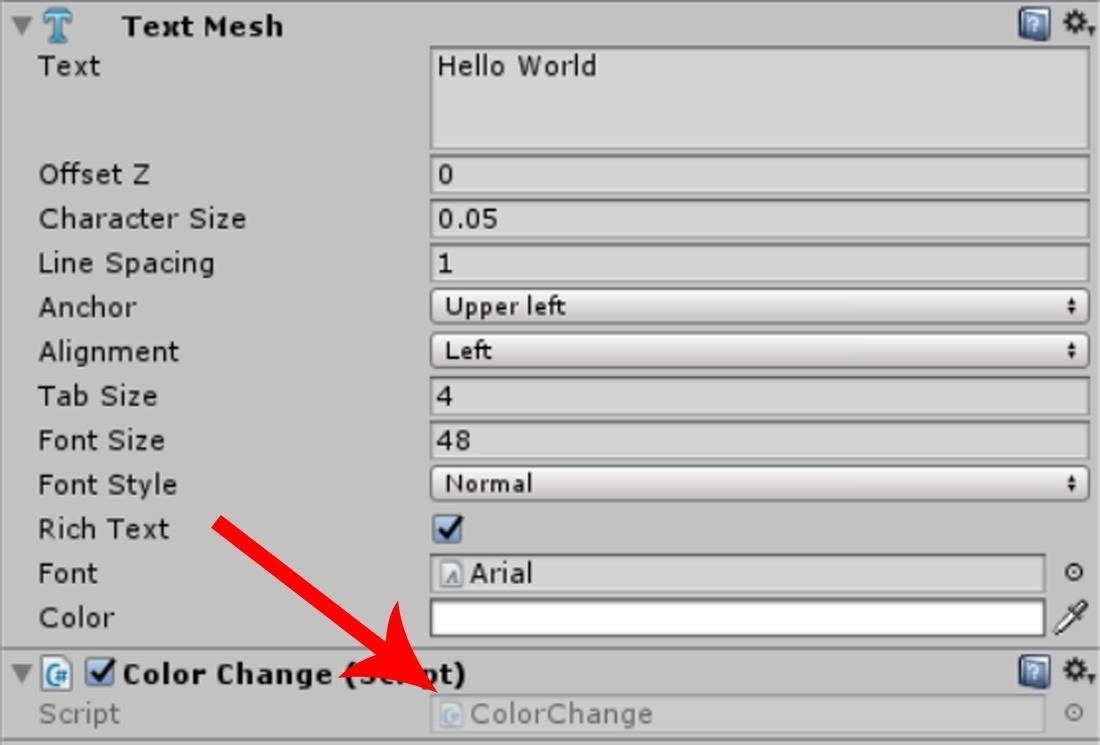
Now under the Text Mesh heading:
- Change character size to 0.05.
- Change font size to 48.
Step 2: Create the Manager Object
One common system of organization in Unity is to create a game or application manager. This is where many of the management scripts are stored.
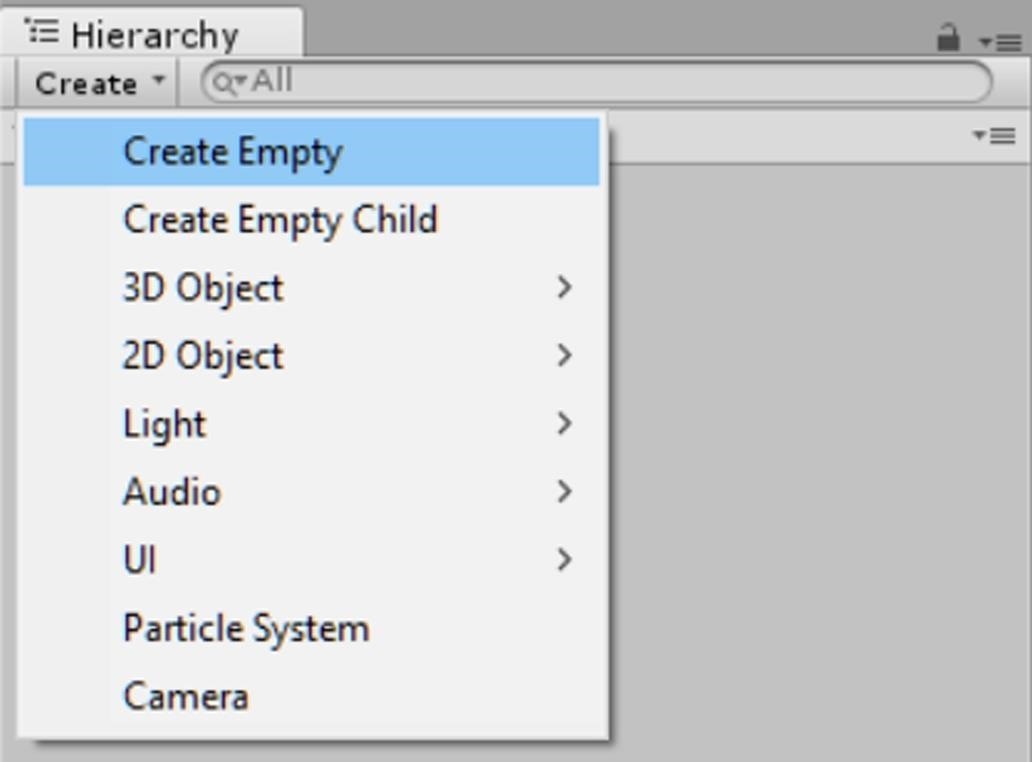
Here, we will create an empty GameObject that will act as our Keyword Manager. In the Hierarchy window, click the "Create" button and select "Create Empty."
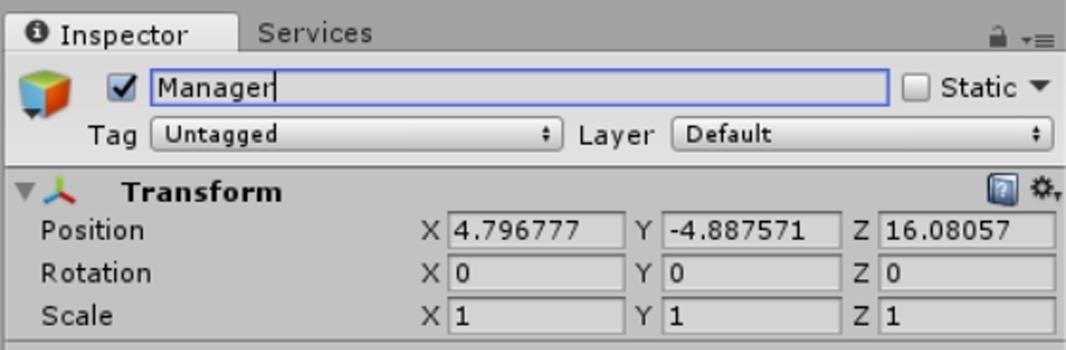
Rename the new GameObject to "Manager."
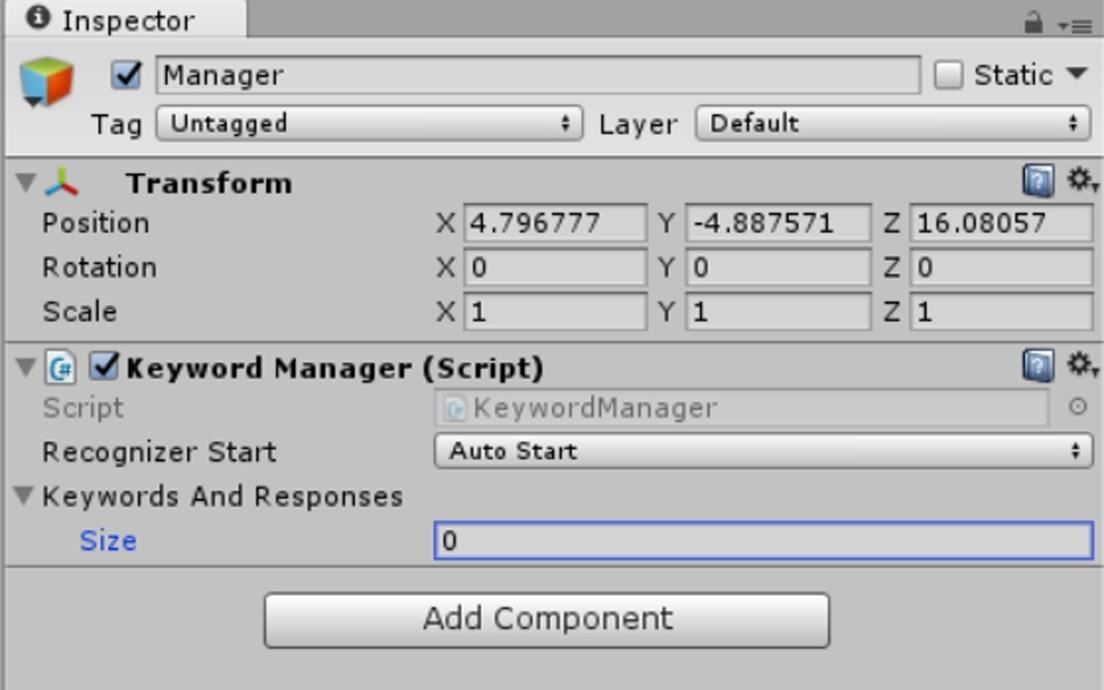
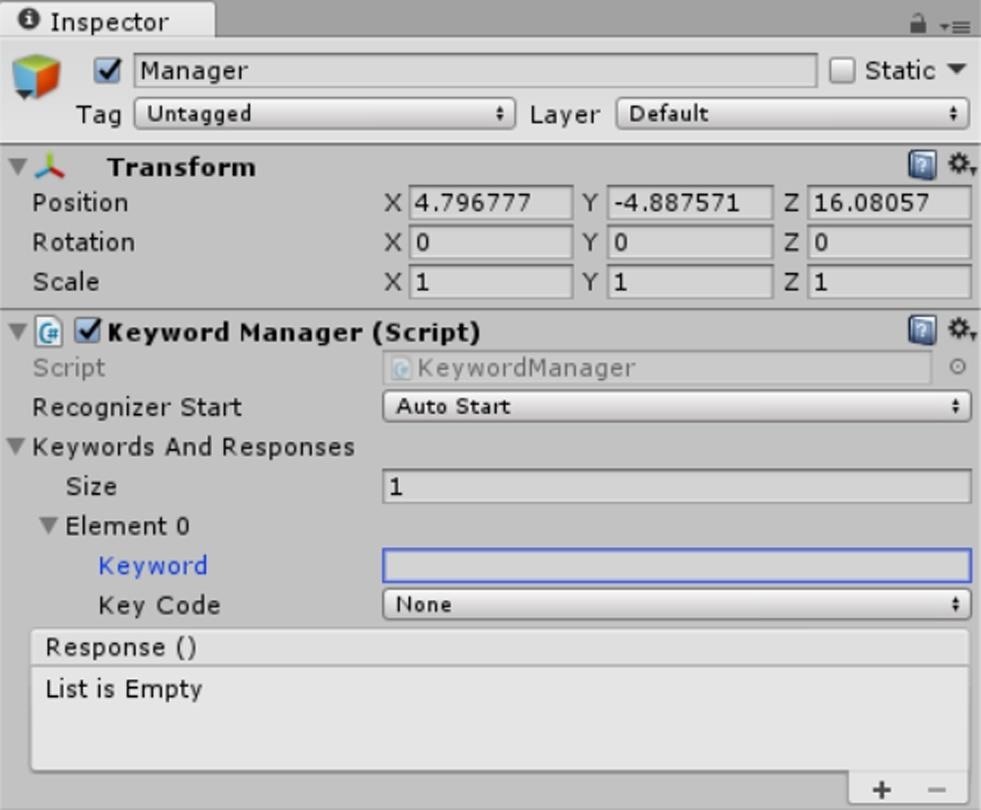
Click on the "Add Component" button, then select the "Keyword Manager" script under HoloToolkit.Unity.
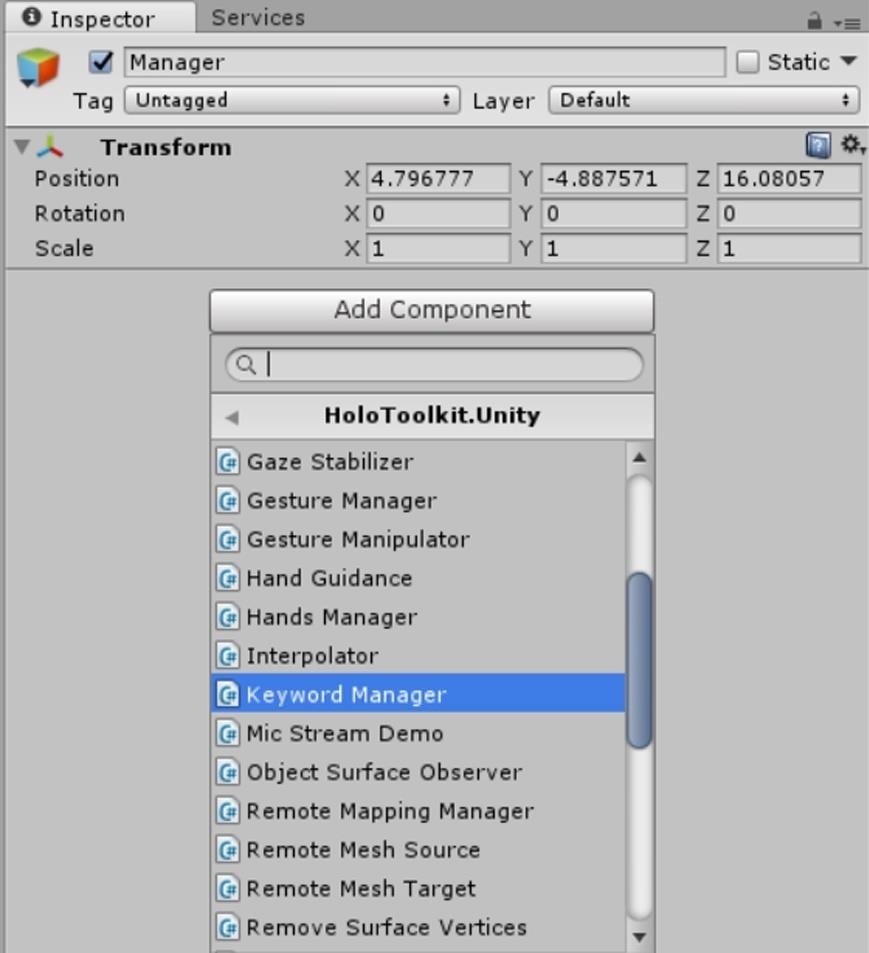
The Keyword Manager component should appear in the Inspector like this:
Step 3: Create a Script to Change the Color of 'Hello World'
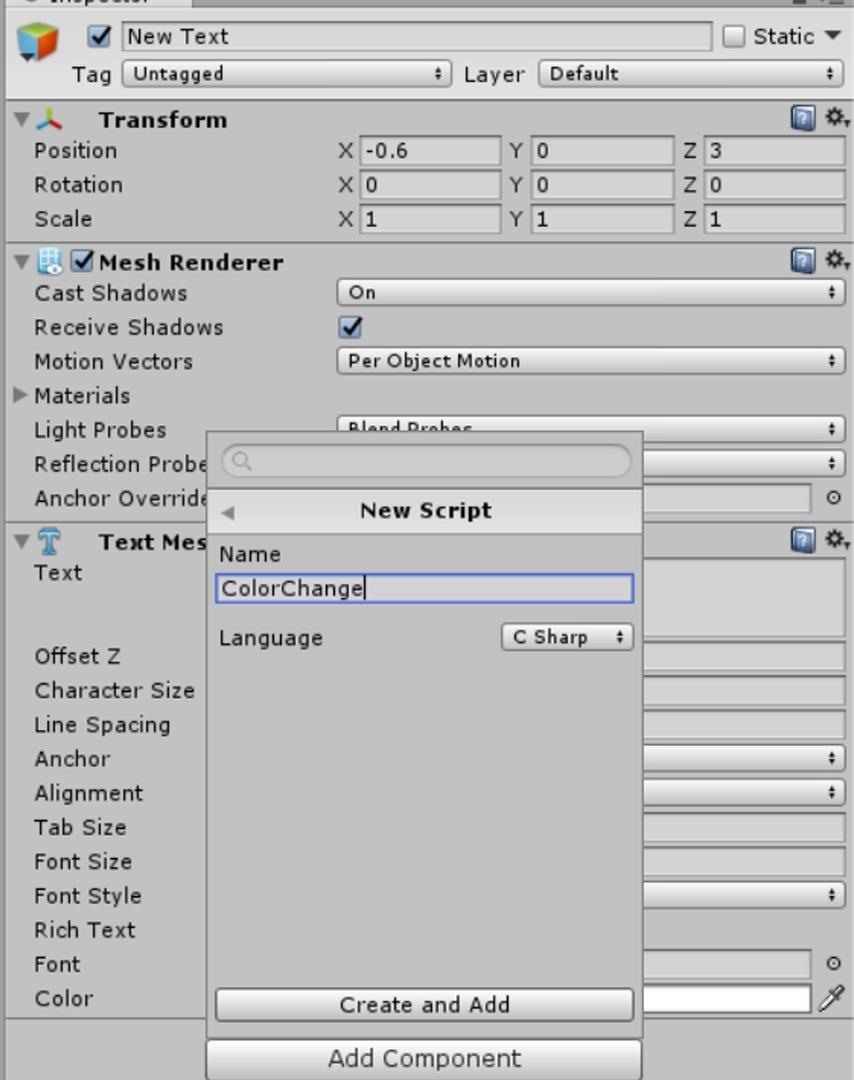
Select the "New Text" object. In the Inspector window, click on the "Add Component" button and select "New Script." Type in "ColorChange" as the script name and click the "Create and Add" button to continue.
Double-click on the "ColorChange" script in new component to open up Visual Studio.
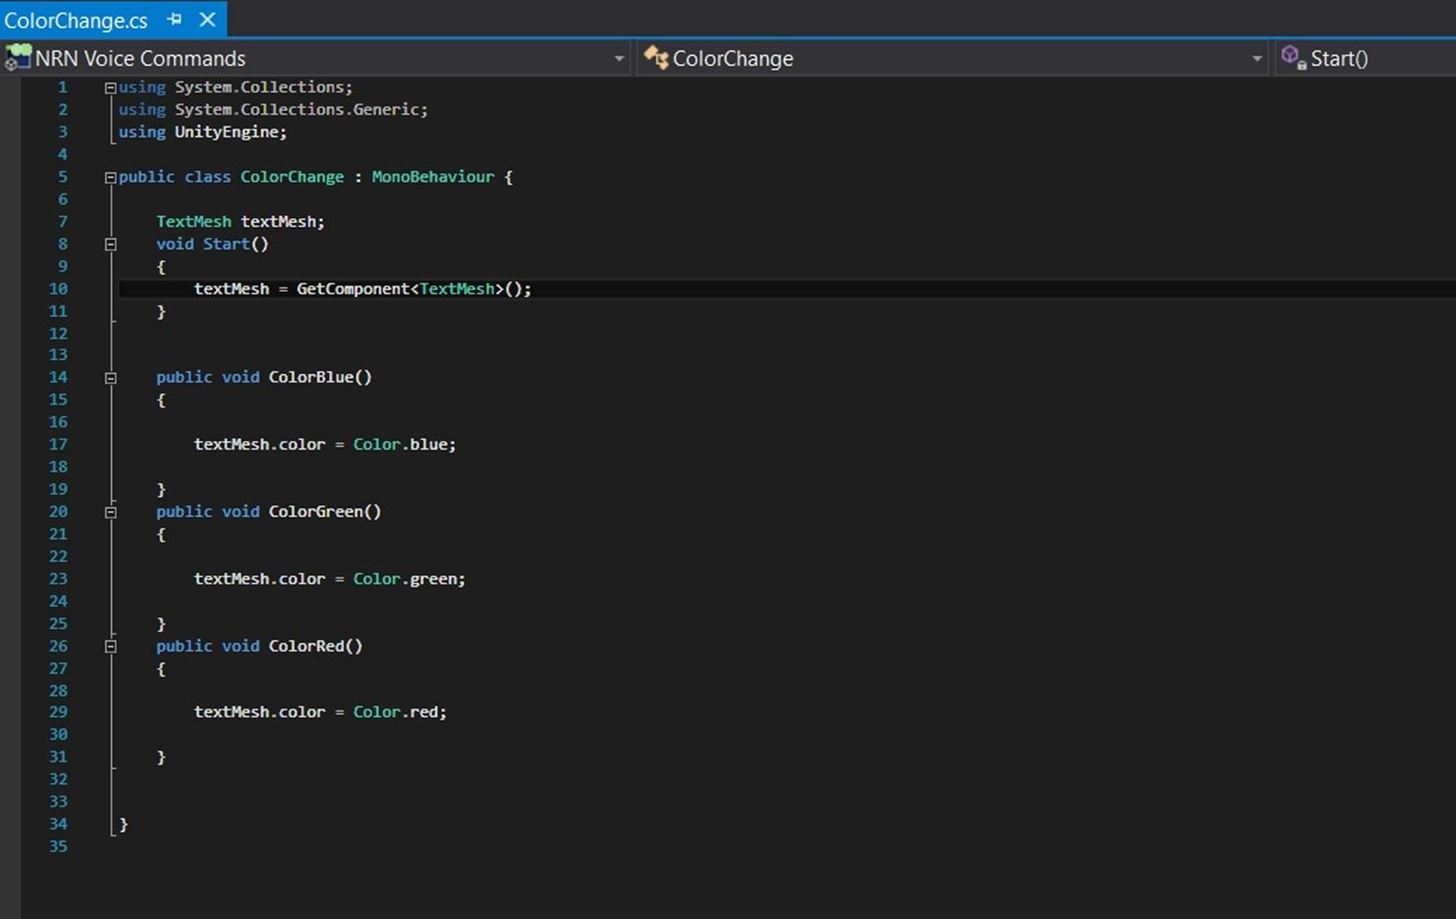
This script is really basic.
First, we get a reference to our Text Mesh (or 3D text). Then, we create three functions to change the colors. One note to point out—for the Keyword Manager to use these functions, they must have the keyword public.
Step 4: Create the Voice Commands in the Keyword Manager
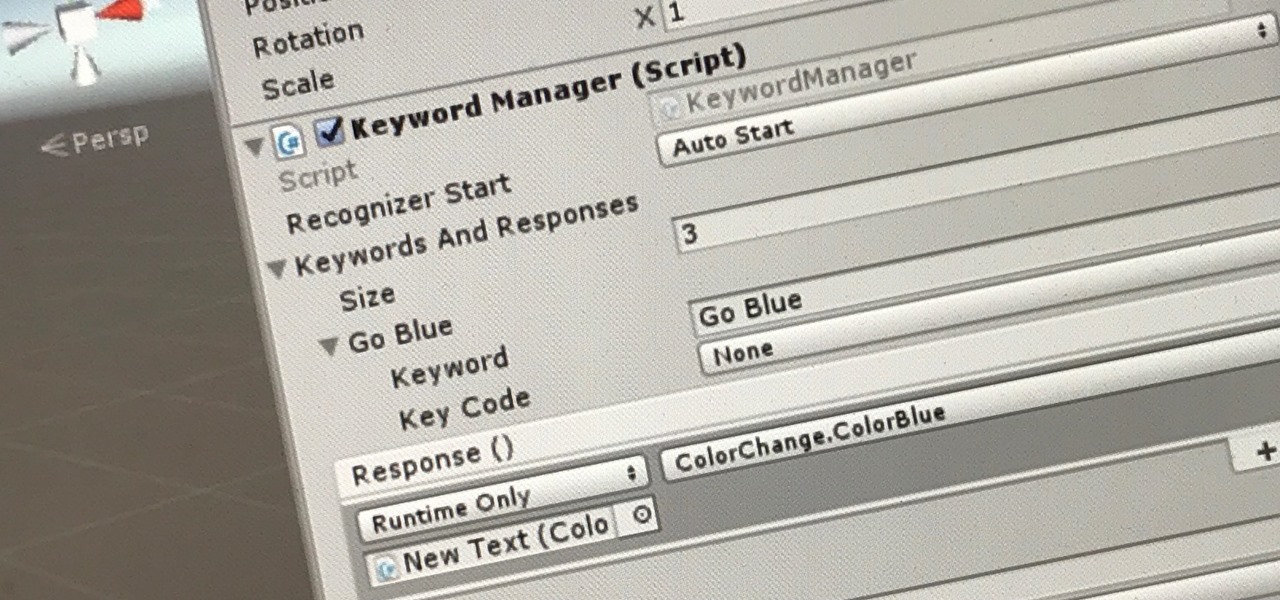
Select our "Manager" GameObject and go to the "Keyword Manager" component.
In the Keyword And Responses section, the size is set to 0 (zero). For now, we need to set it to 1 (one) and click on the arrow next to "Element 0" to expand its options.
This is where we create our keywords and link functions for those keywords to perform. Type "Go Blue" into the keyword input field. In the Response () section, click the plus (+) symbol.
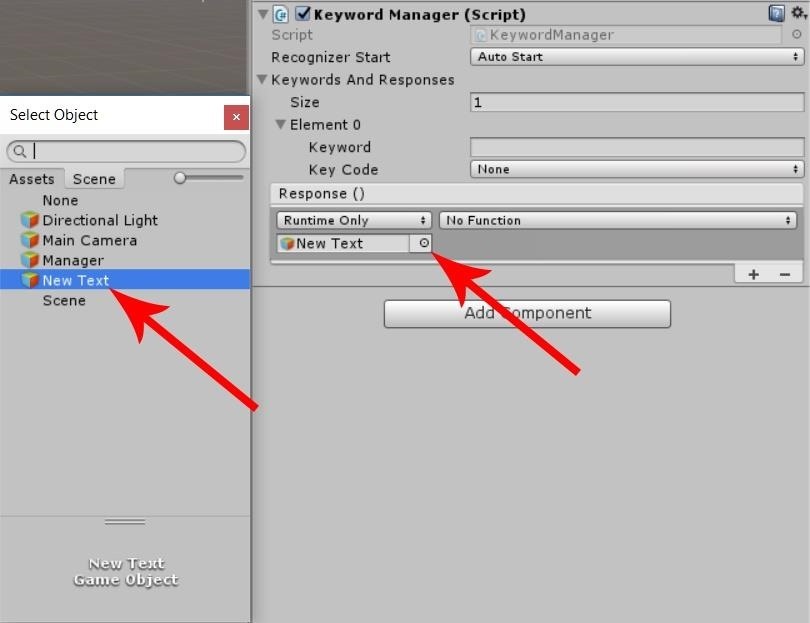
A new UI element appears in the Response () section. Here, we need to link the GameObject we are going to control with our voice. Click on the small circle below the words "Runtime Only." When the Select Object window appears, select "New Text" from the objects list.
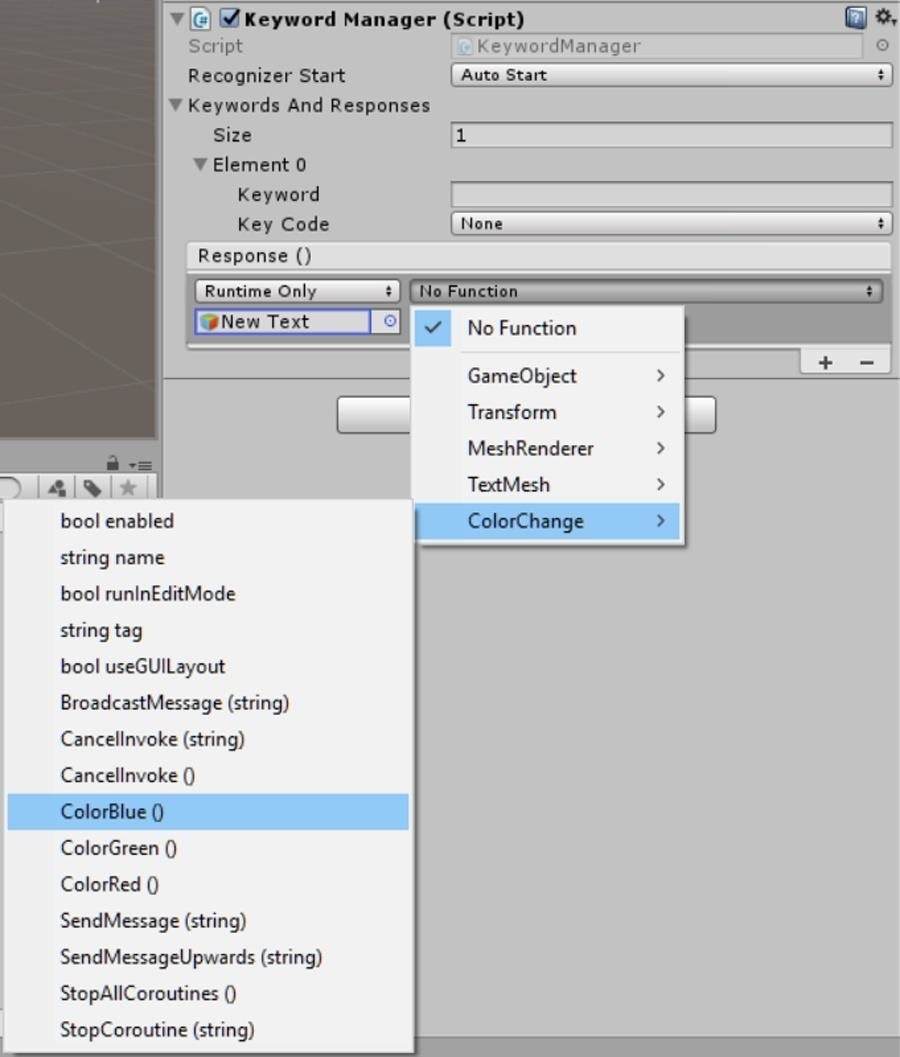
The next step will be selecting the actual function we are linking to the keyword "Go Blue." Click on the drop-down box currently labeled "No Function," and when the options appear, click on "ColorChange," then "ColorBlue ()." Now the ColorBlue () function is set to trigger when the words "Go Blue" are said aloud.
In the Size field now, change the number from 1 (one) to 3 (three). This was a shortcut of sorts. Due to how this works in Unity, when you add numbers to the Keyword Managers' size, it duplicates the last keyword to the increased keyword's count.
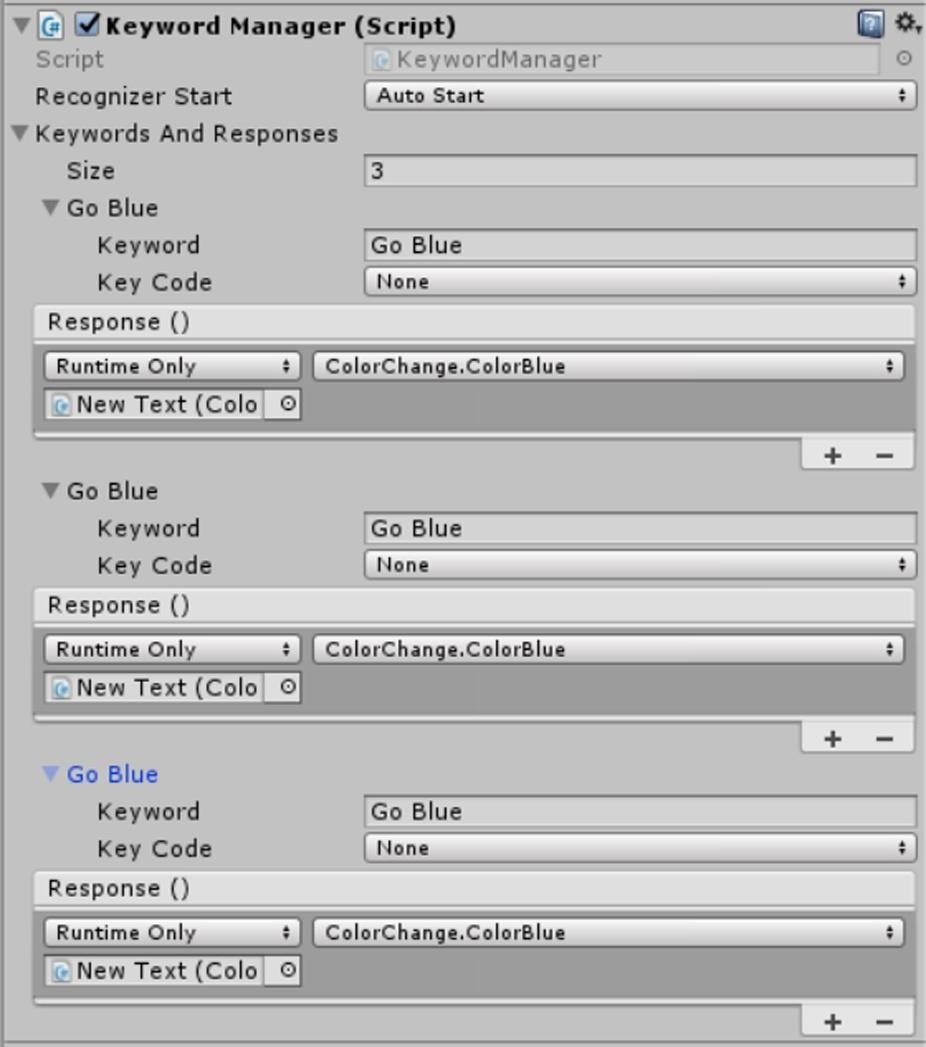
So now we need to change the second "Go Blue" to "Go Green" and the last to "Go Red." Then we need to change the associated functions to "ColorChange.ColorGreen" and "ColorChange.ColorRed."

Woot! We are done!
Now, build, compile, and deploy. Once you load the application, say "Go Blue," "Go Green," and "Go Red" and see what happens.

Did you have any hiccups in this process? If so, make sure and let me know.
Just updated your iPhone? You'll find new emoji, enhanced security, podcast transcripts, Apple Cash virtual numbers, and other useful features. There are even new additions hidden within Safari. Find out what's new and changed on your iPhone with the iOS 17.4 update.


Be the First to Comment
Share Your Thoughts