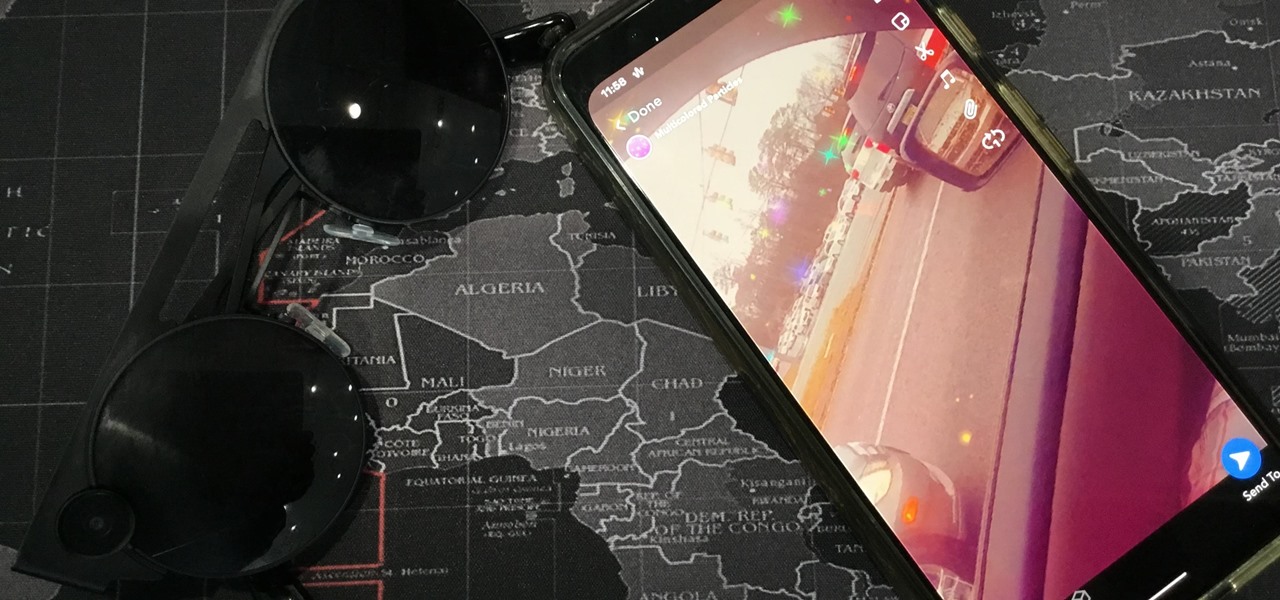

Snapchat parent company Snap took a huge step towards the realm of smartglasses with the third iteration of its camera-equipped Spectacles sunglasses.
What set Spectacles 3 apart from previous versions is that it gained a second temple-mounted camera, enabling it to capture depth in videos and photos. After transferring the content to Snapchat, you can add AR effects to 3D videos.
However, in my experience with the device, it's not immediately obvious how to add 3D effects. So, I'm here to show you how. Prerequisites for this tutorial include a smartphone capable of running Snapchat and Spectacles 3 (we'll refer to it as Spectacles).
Step 1: Install or Update Snapchat
First thing's first, you'll need to have the Snapchat app on your smartphone of choice. You likely already have it, so go ahead and check for an update if you don't have automatic updates enabled on your device.
Step 2: Pair Spectacles to Snapchat
I'm assuming this is your first time. If not, you can skip this and continue to Step 3.
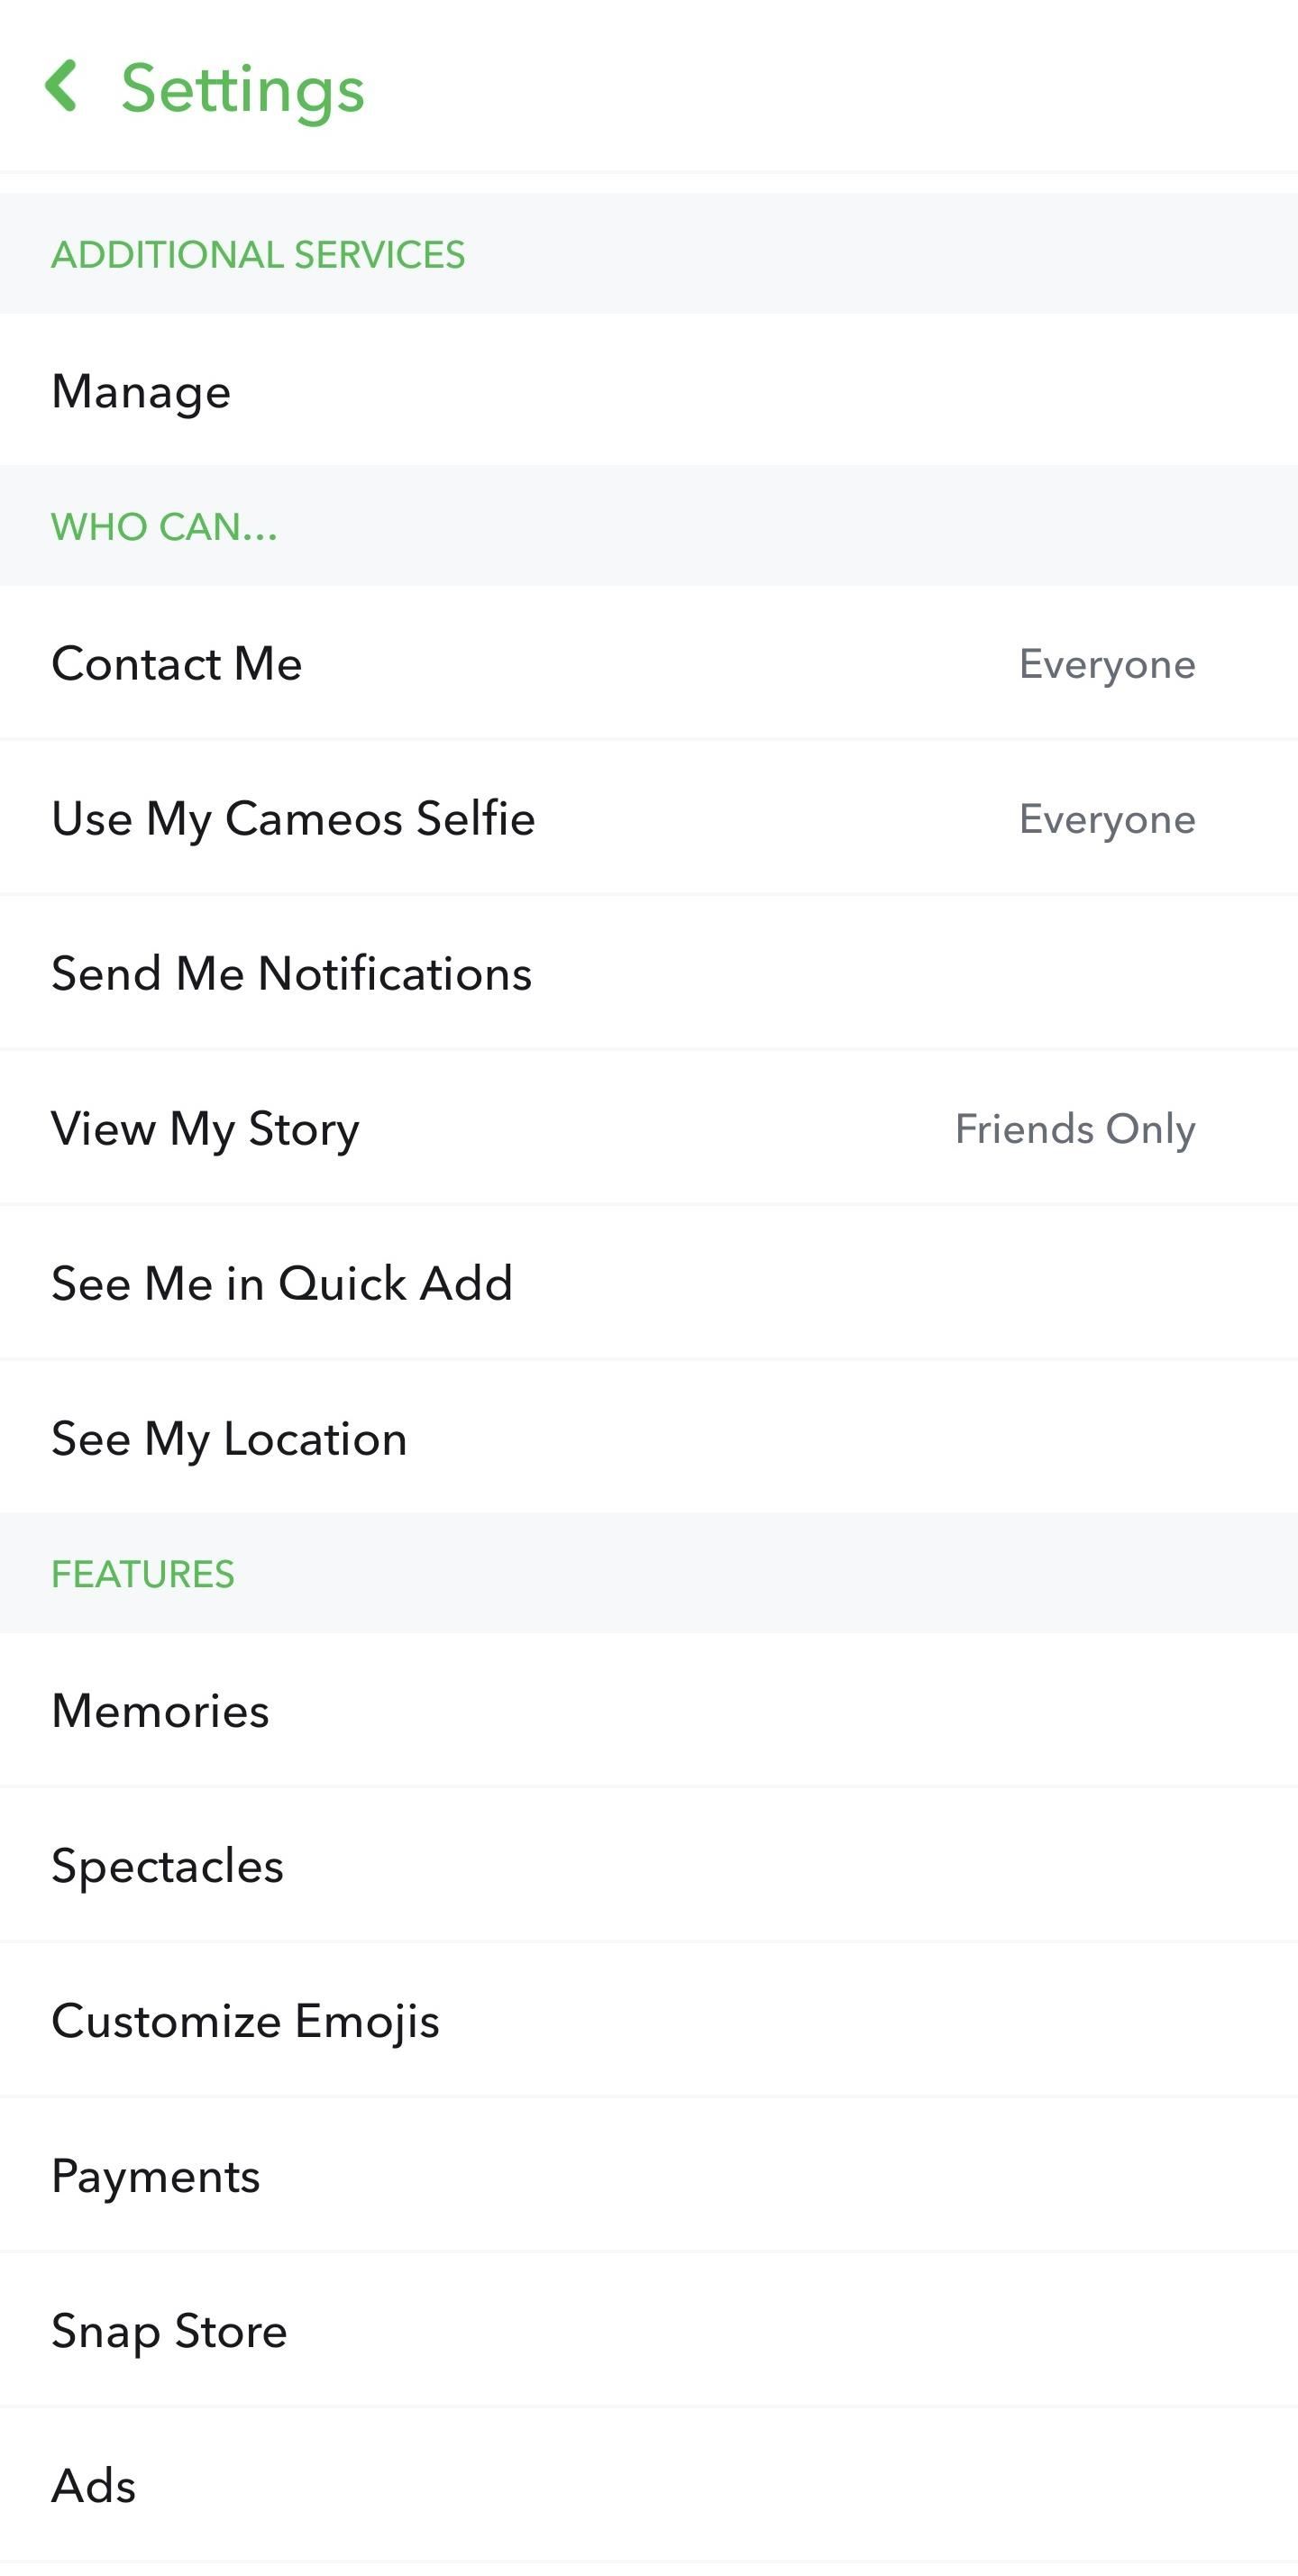
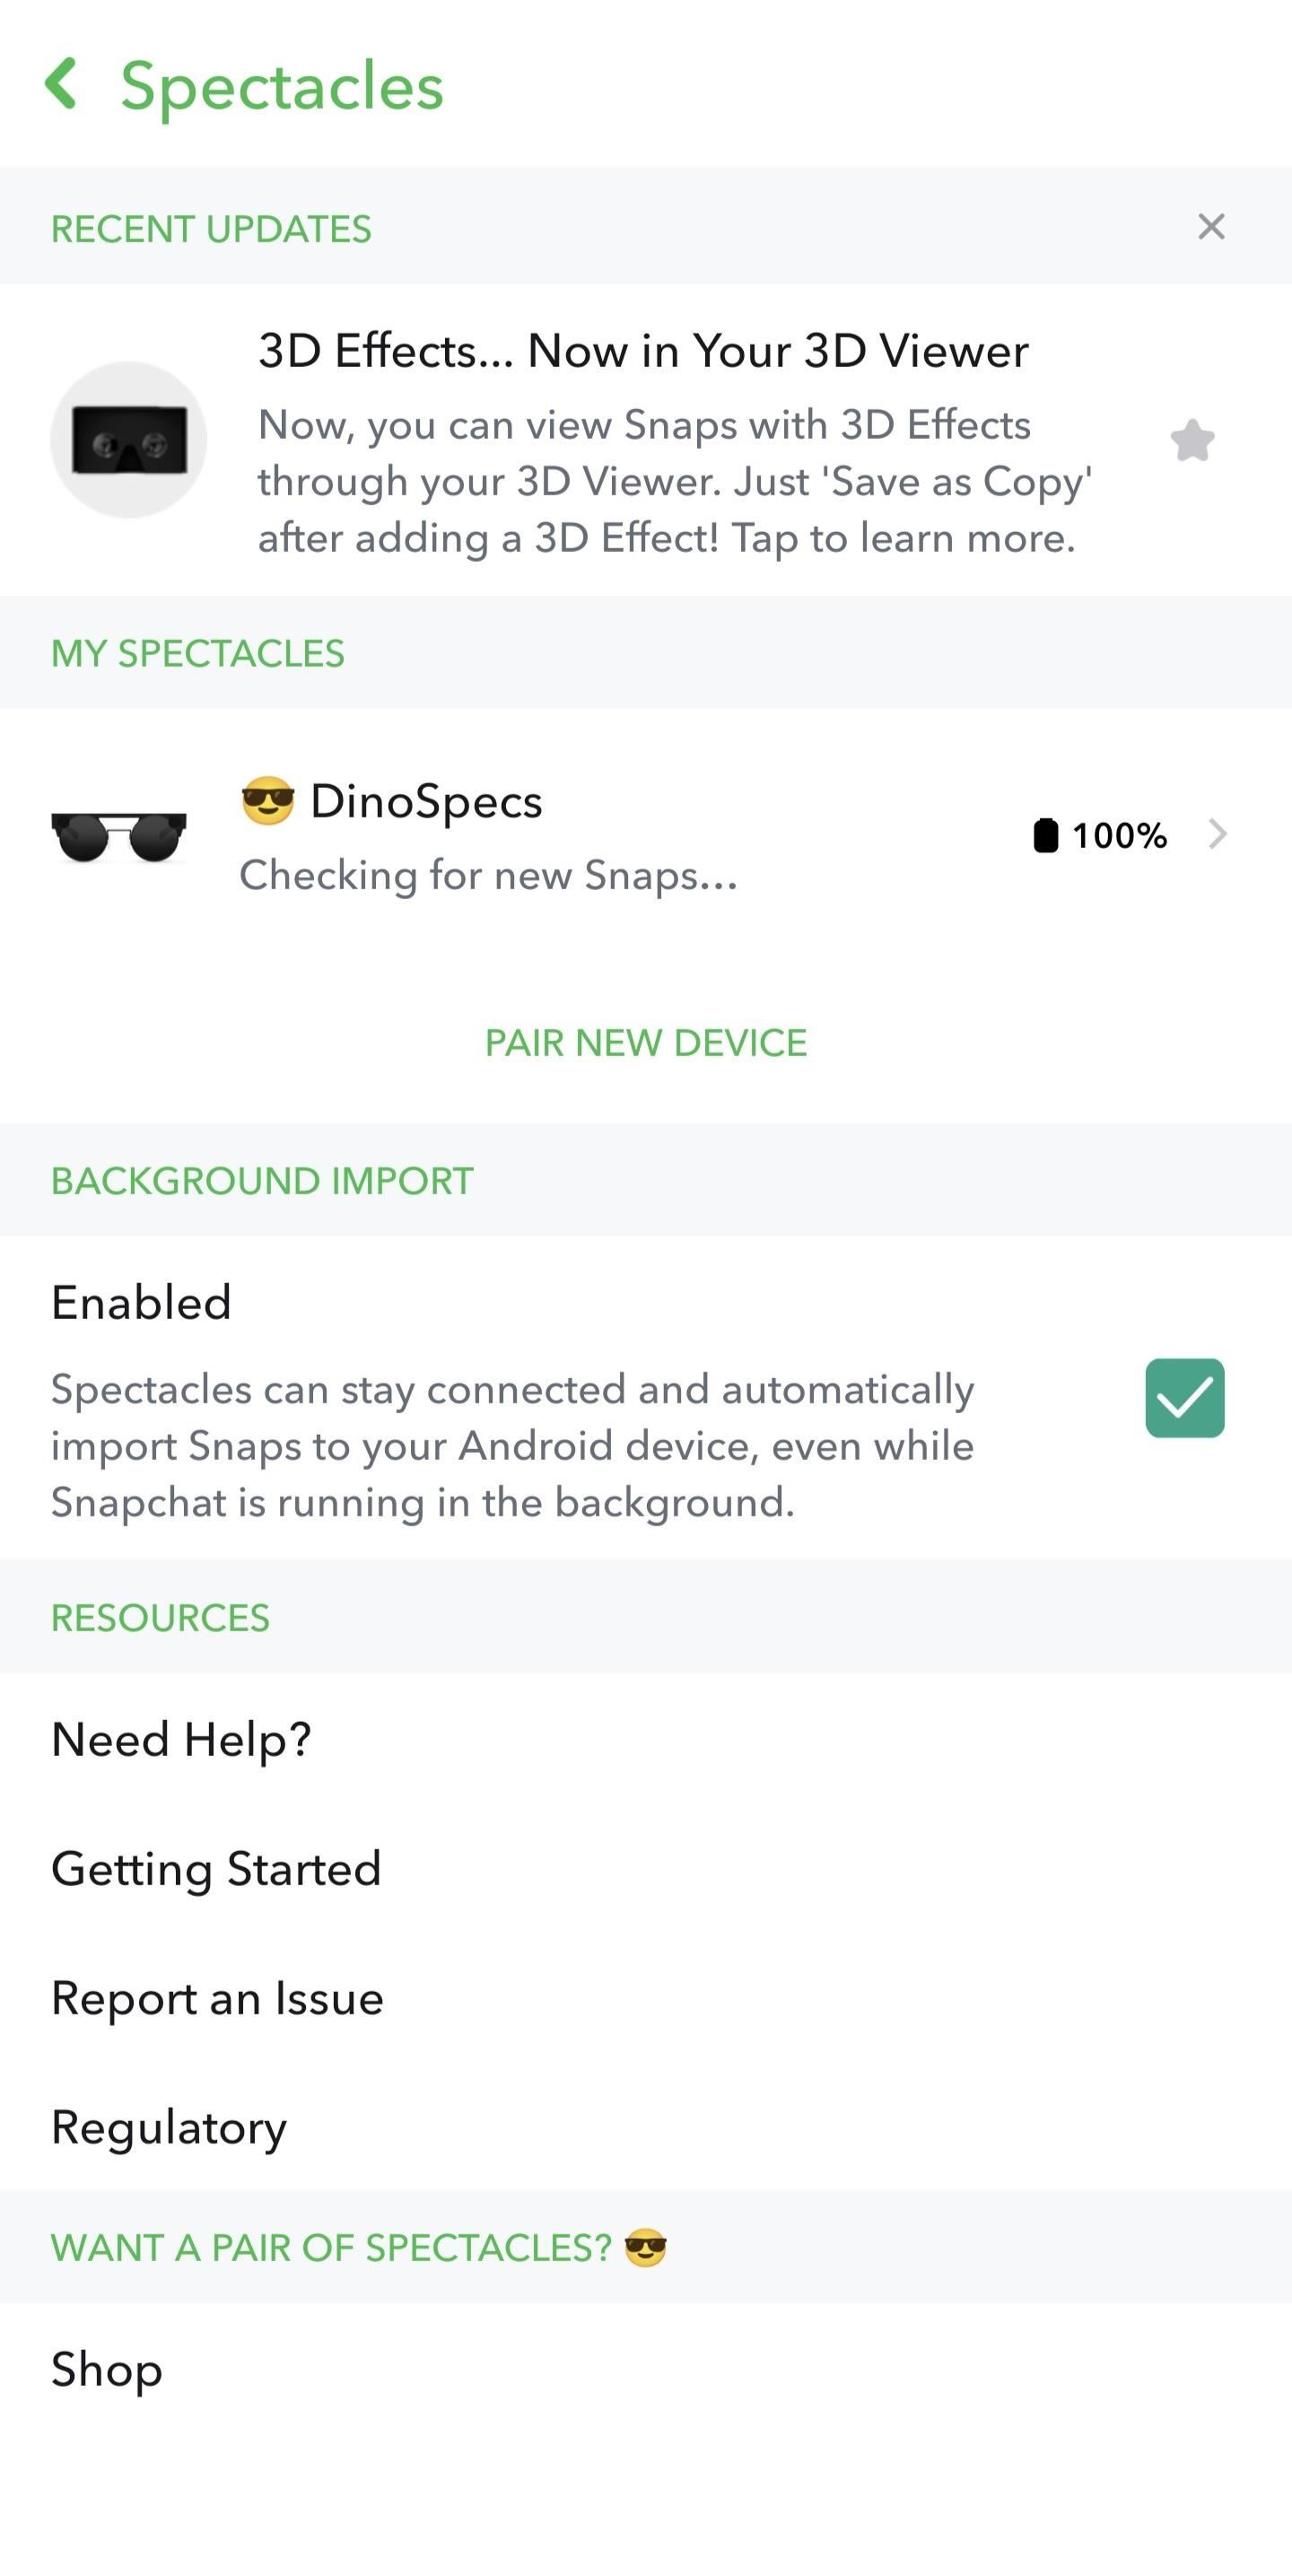
If you're still here, tap your profile image in the top left corner of the home screen, then tap the settings icon in the right corner. In Settings, scroll to the Features section and tap Spectacles.
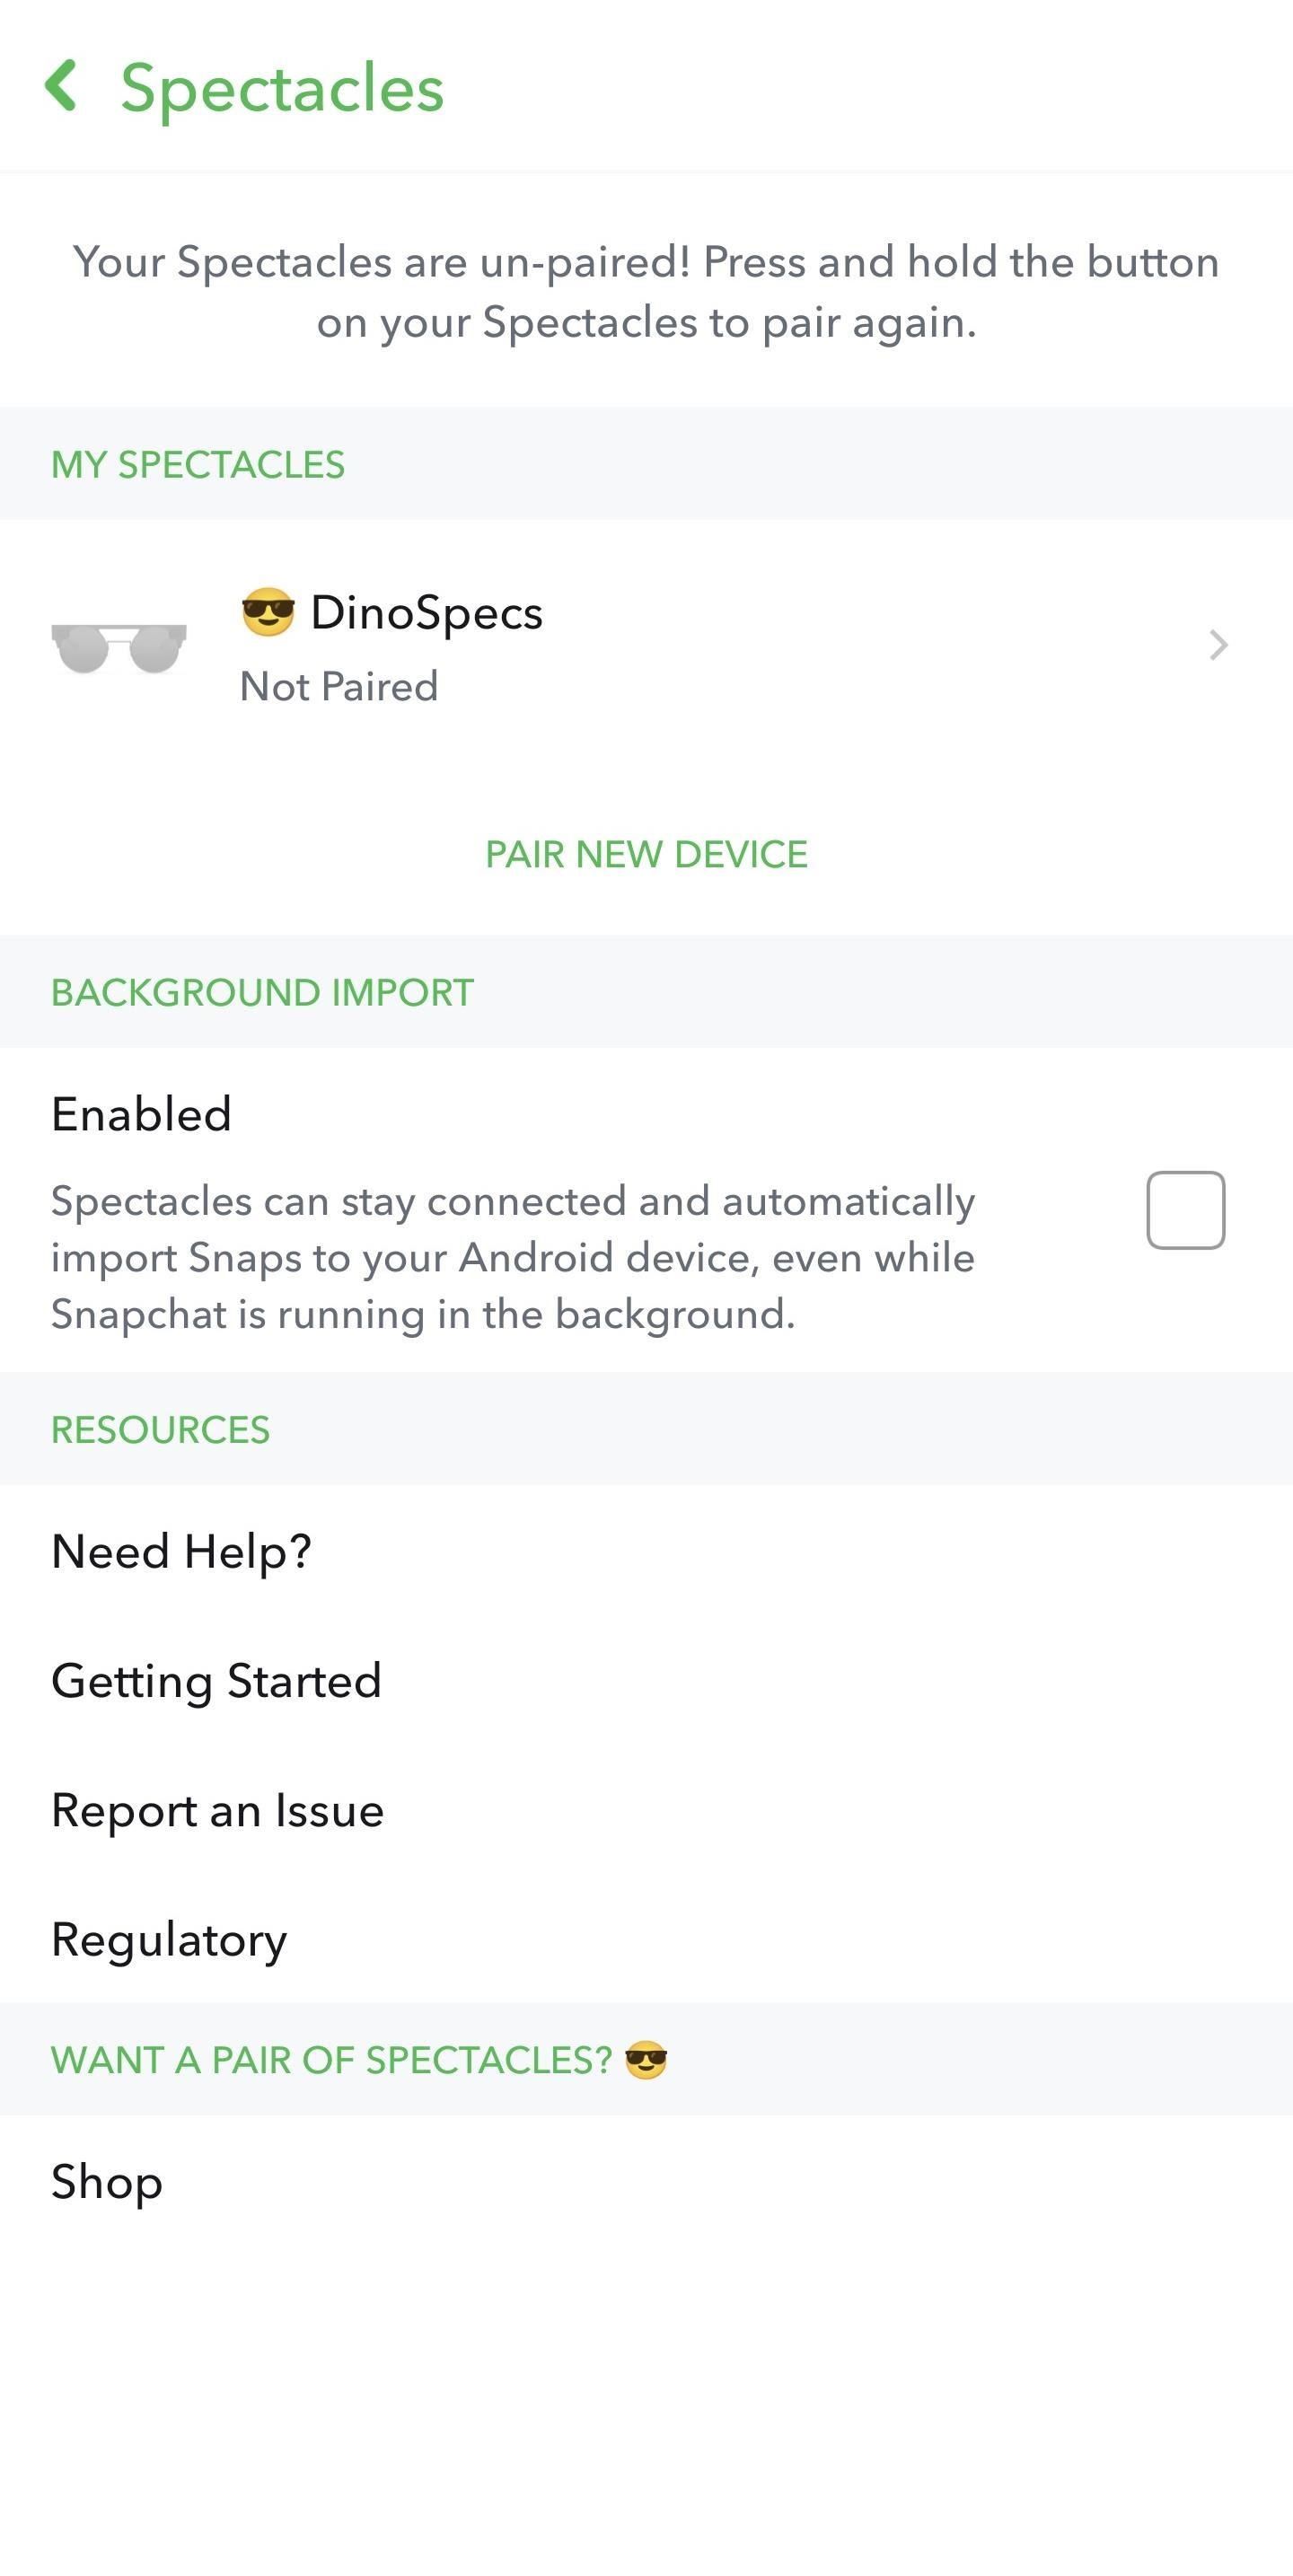
On the Spectacles page, tap "Pair New Device" to add your Spectacles. This will bring you to the pairing screen (identifiable by the Snapchat yellow background).
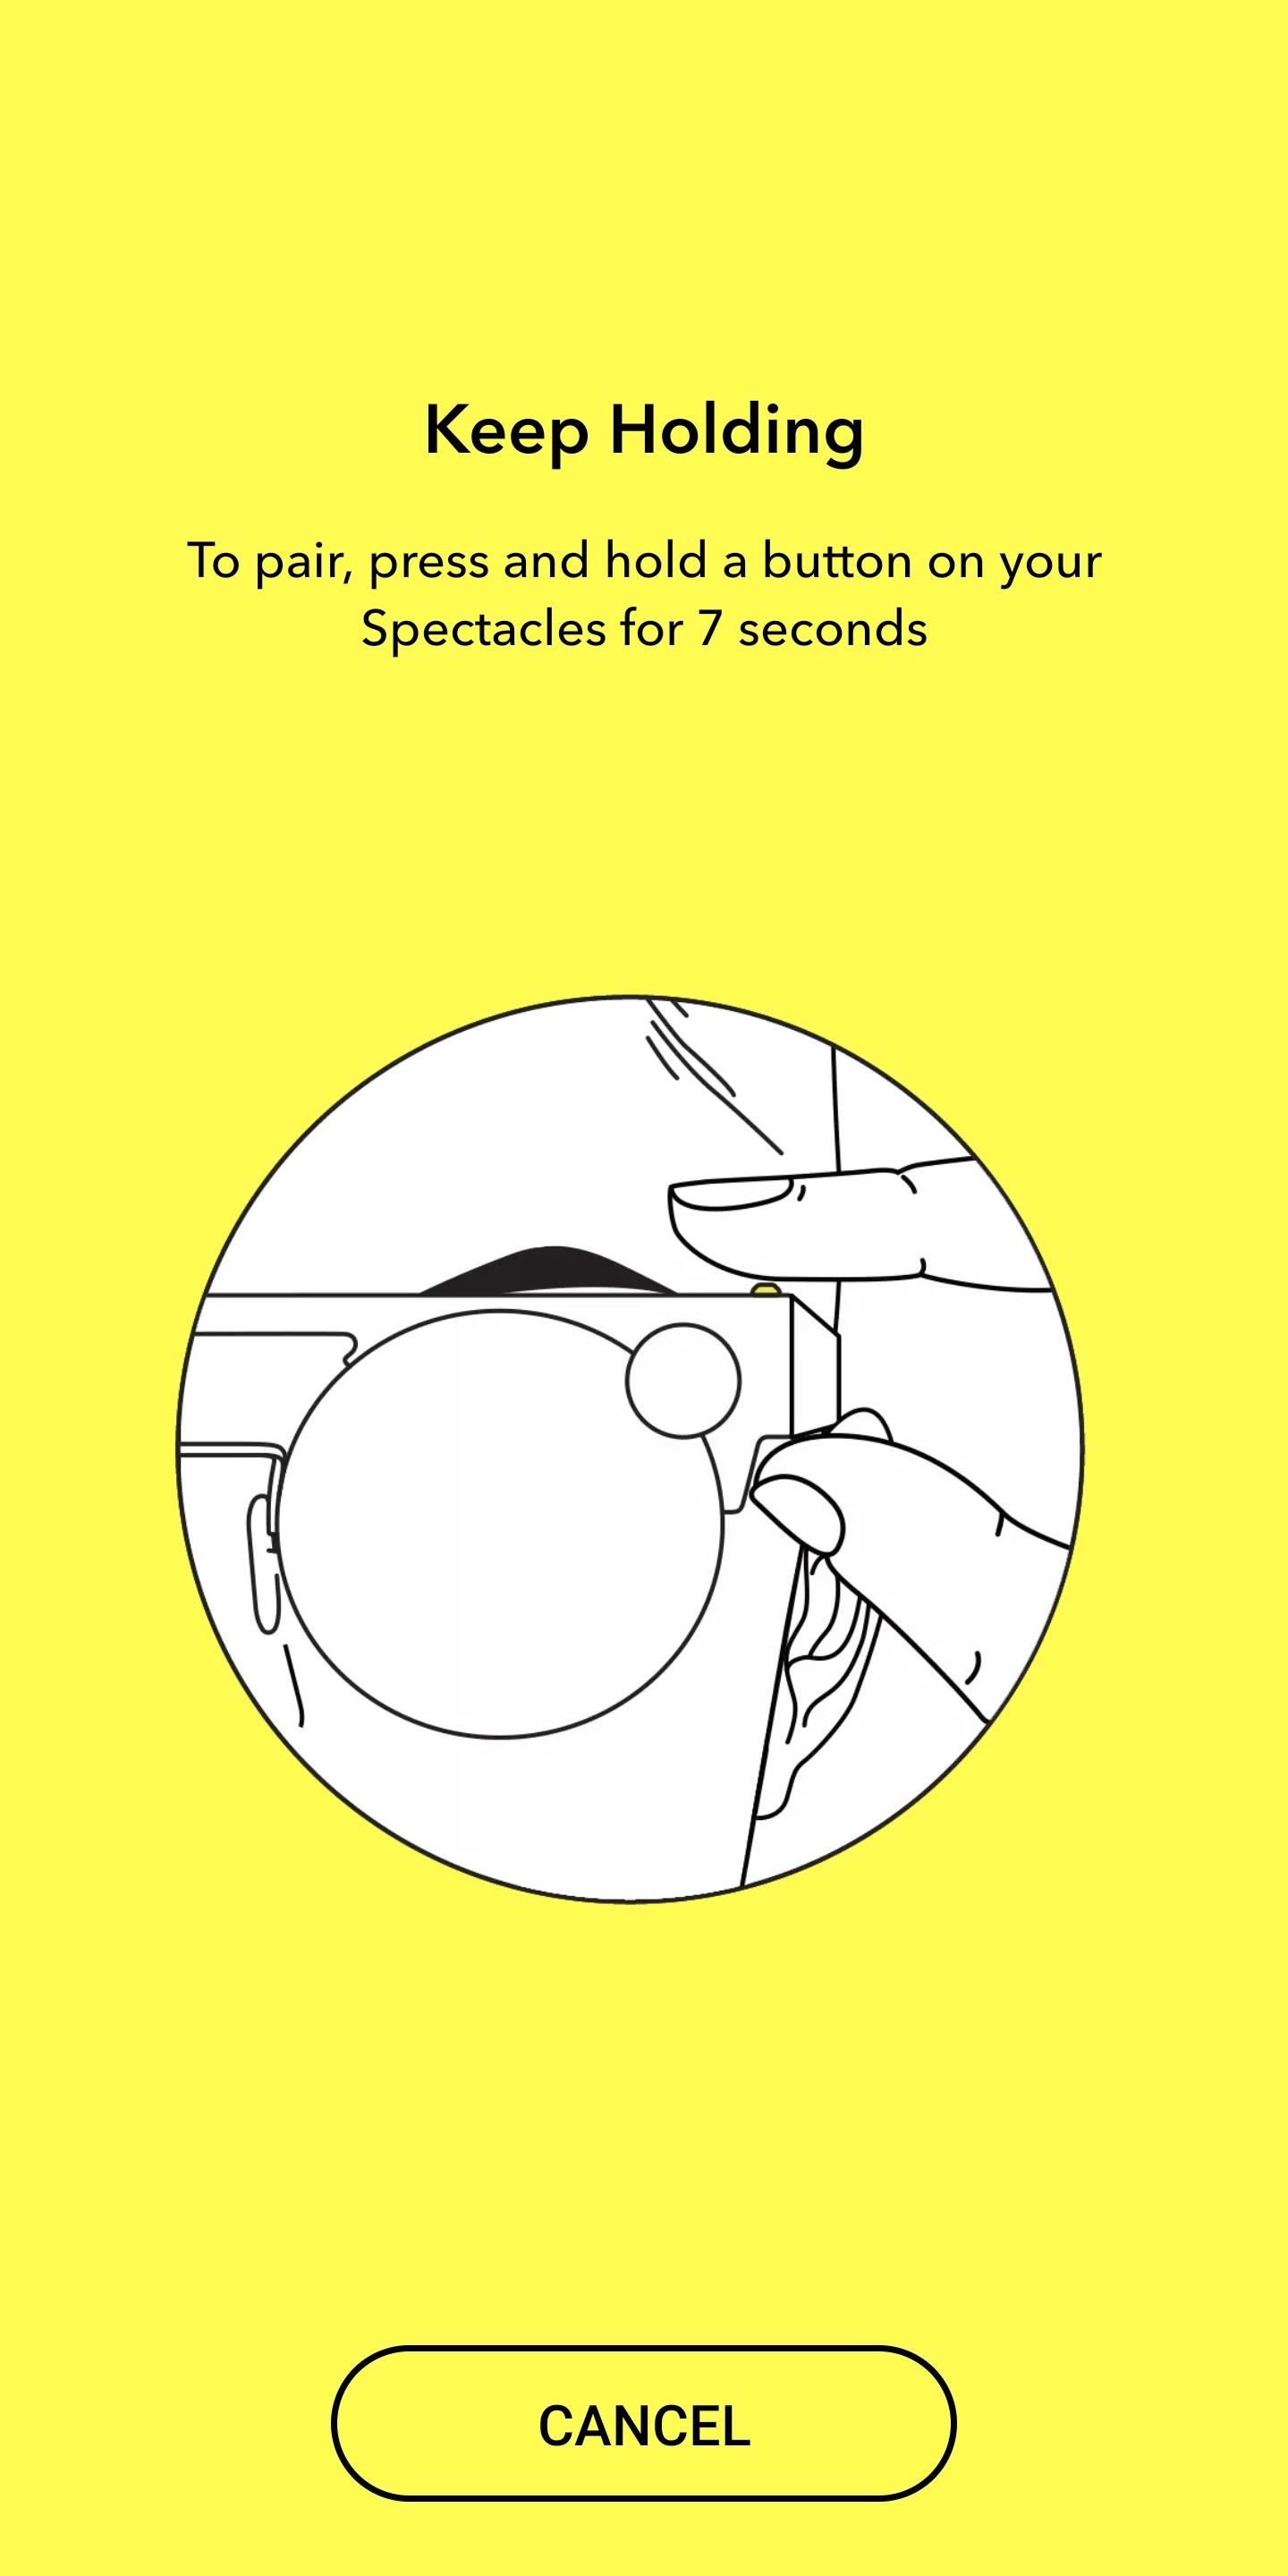
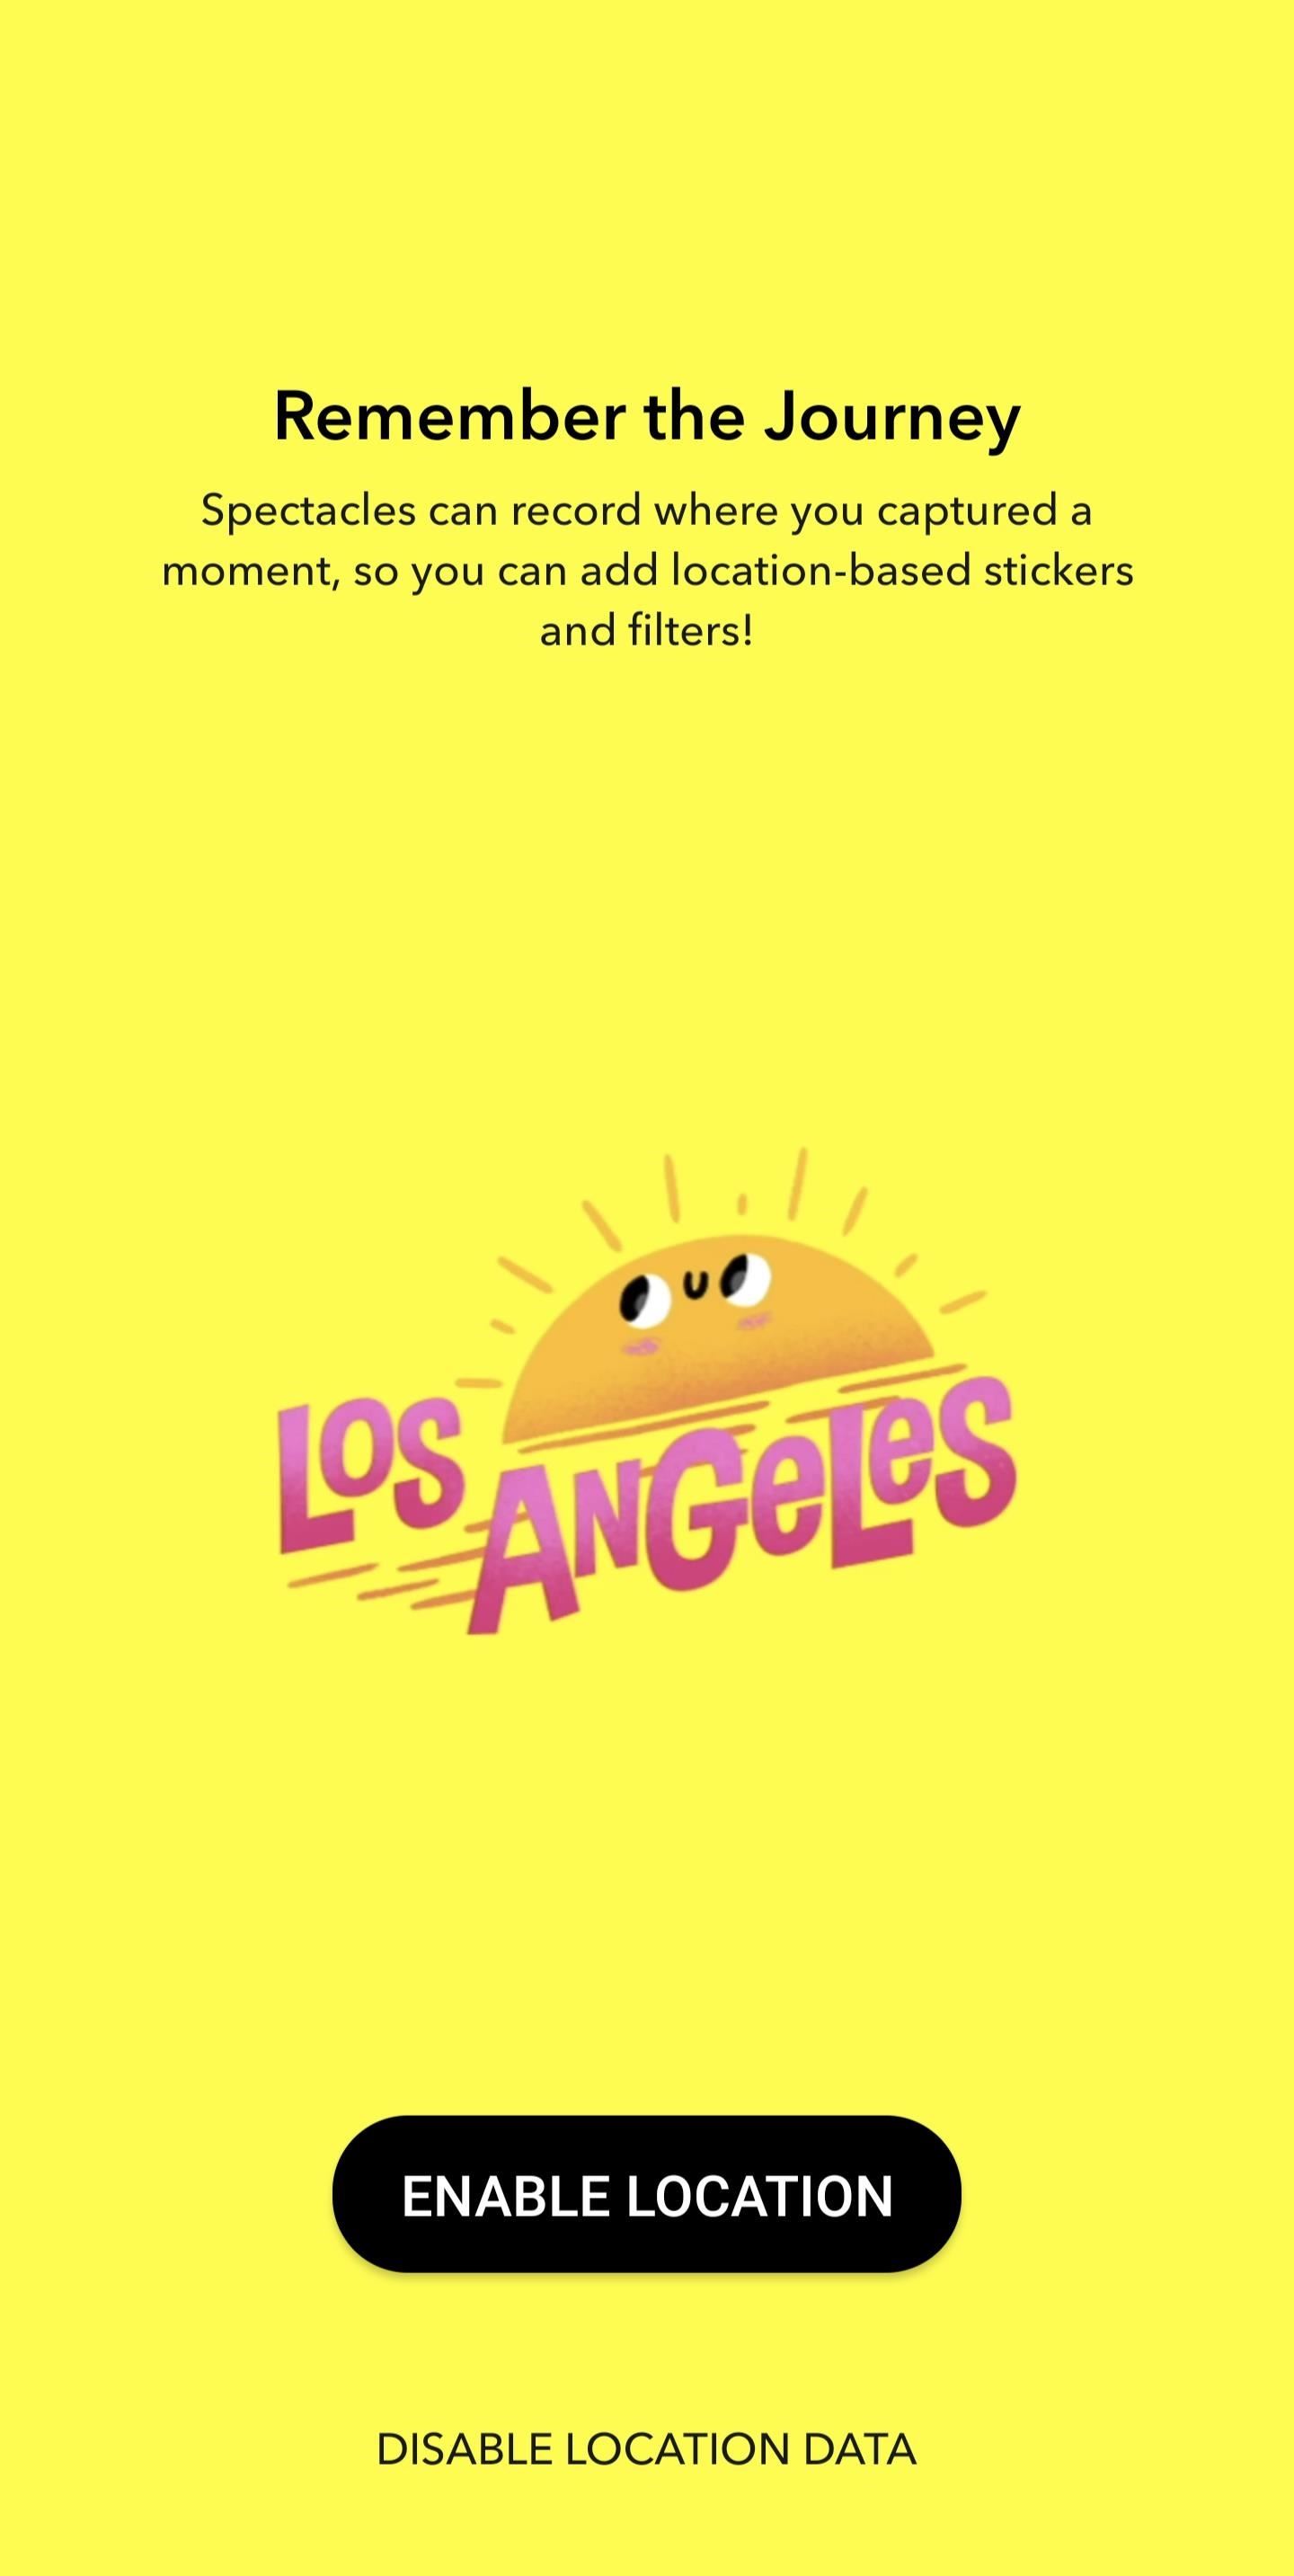
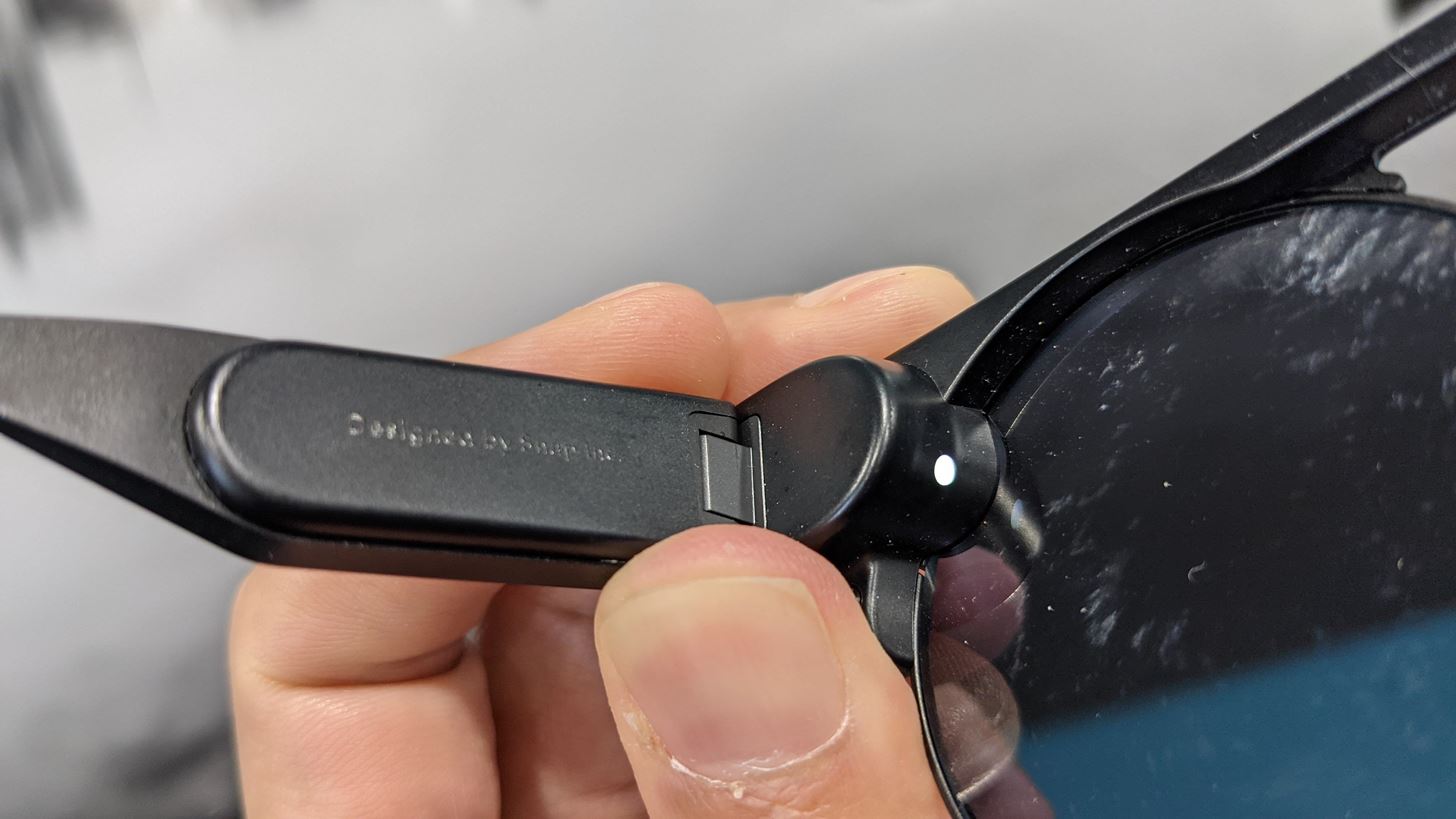
Hold either temple button down for seven seconds to enter pairing mode. Pairing mode on Spectacles is indicated by an LED mounted in the peripheral view showing yellow. Before pairing is completed, you will be asked to enable location permissions in order to add location-based filters. After the full process is complete, you can optionally enable background import.

Step 3: Record Video via Spectacles
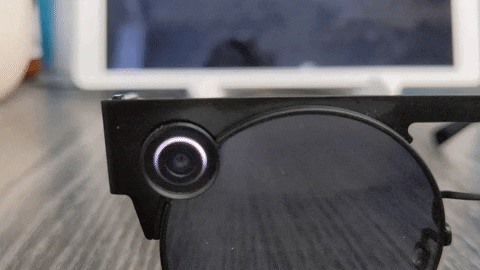
To record a video on Spectacles, tap the button on either temple while wearing the device. An LED indicator mounted in your peripheral view will light up to indicate that you are recording, along with a ring light surrounding the camera to warn persons in your vicinity.

Each video is 10 seconds in length, but you can tap the button up to six times for longer recording sessions.
To capture a photo instead, hold down either button for 1-2 seconds until the LED indicator blinks. However, in this case, photos aren't the target when it comes to AR effects.
Step 4: Import Video to Snapchat
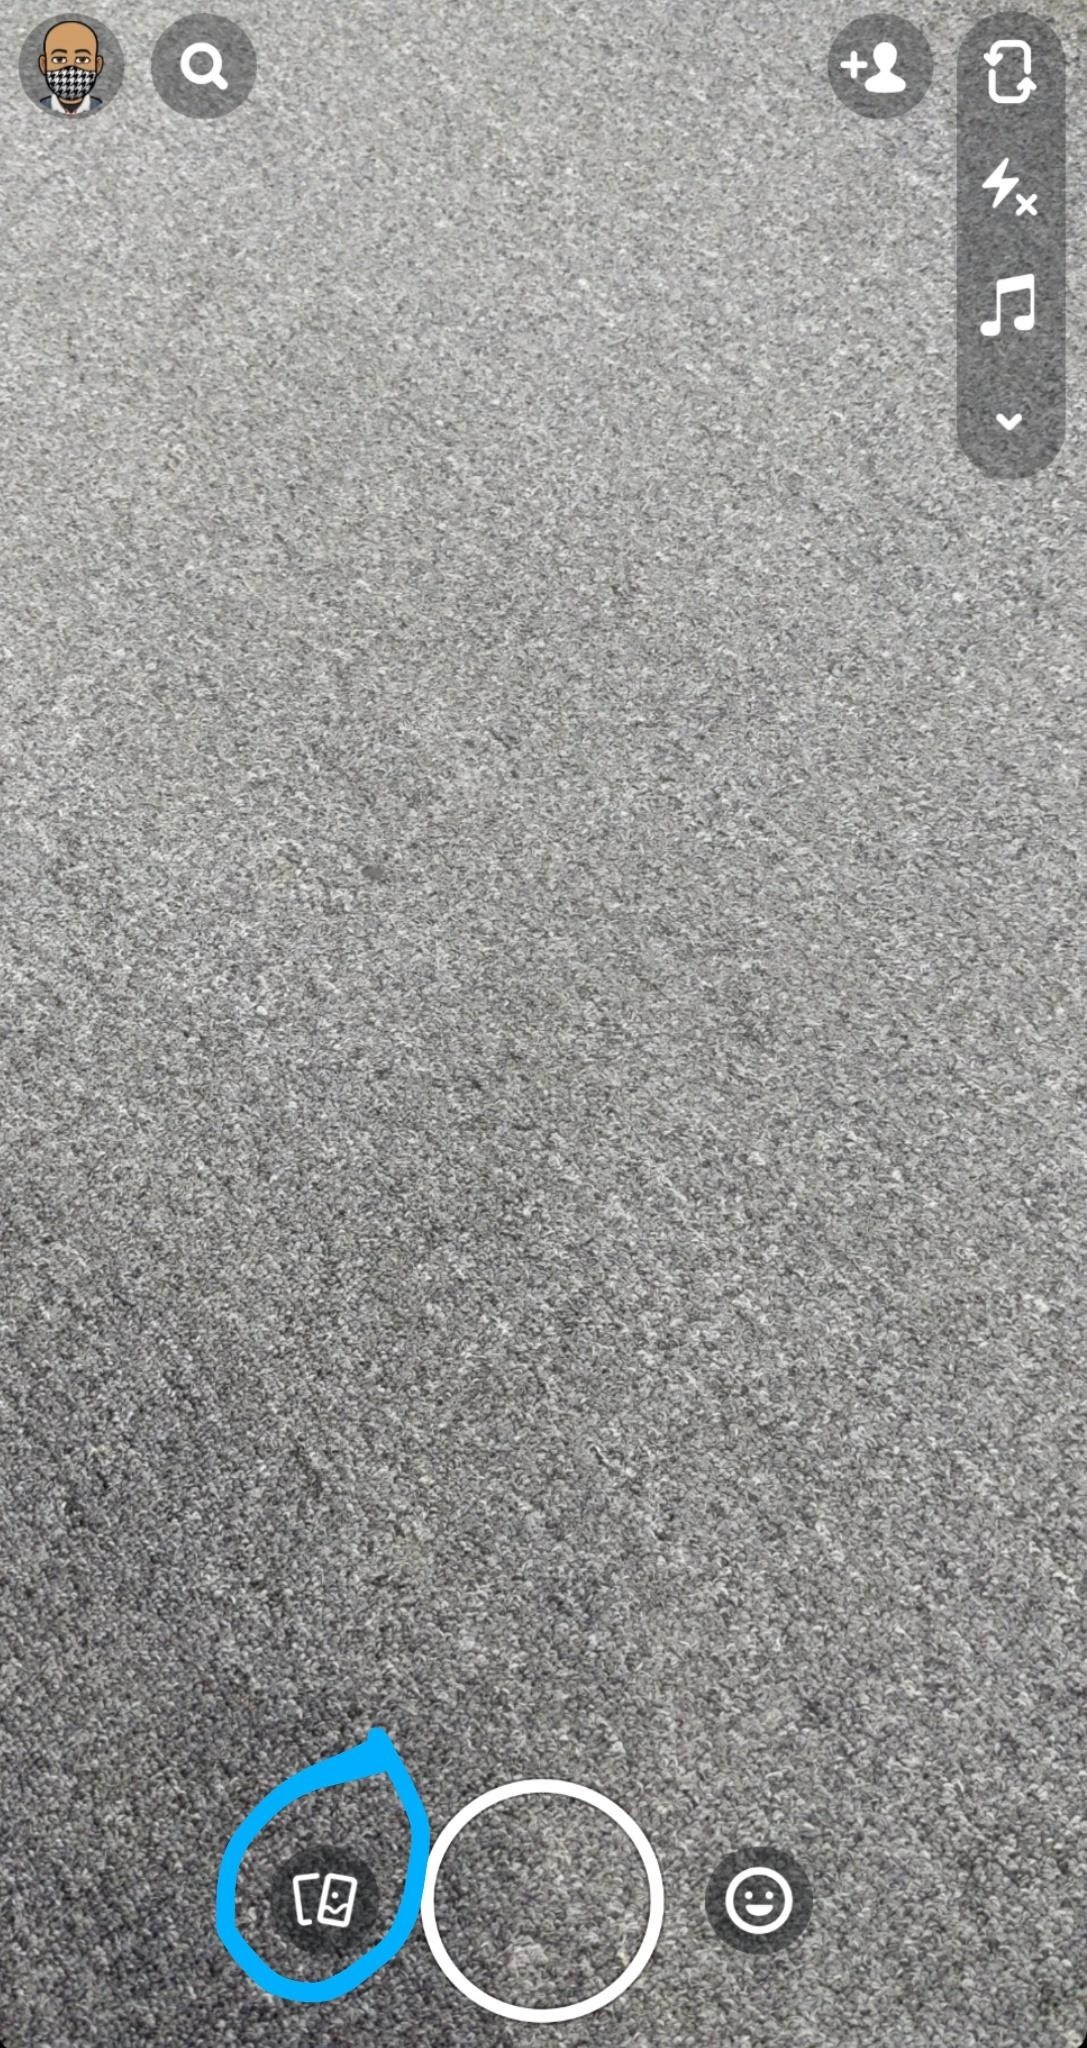
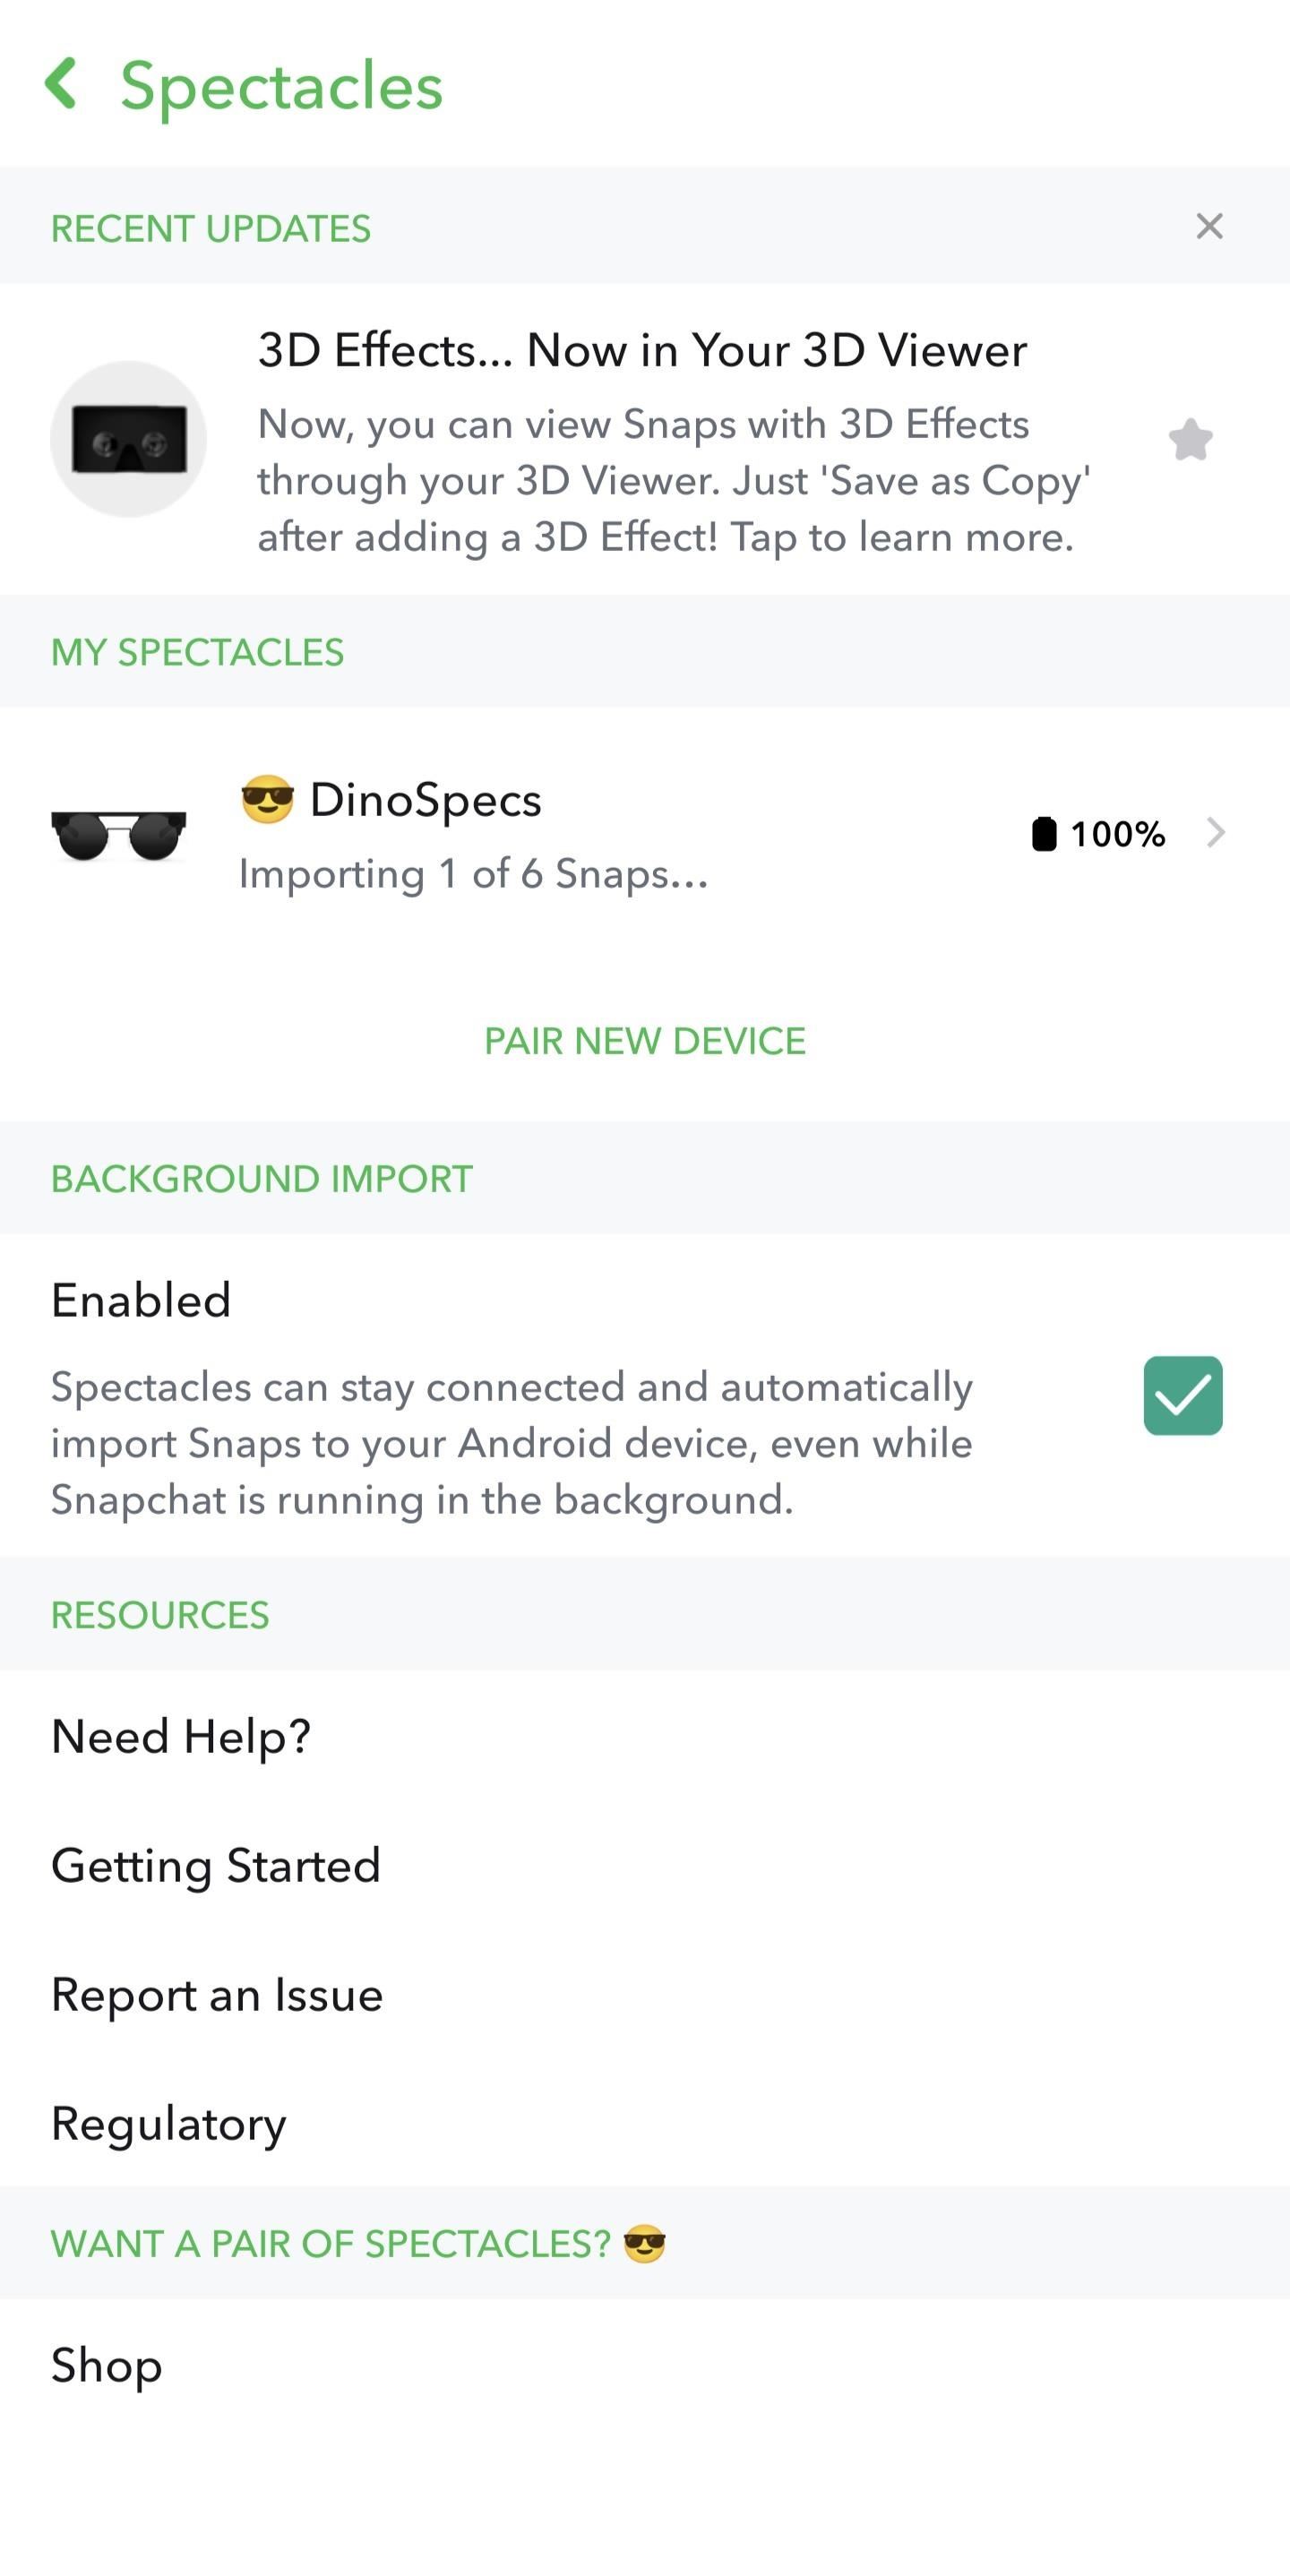
After capturing content, return to the home screen of the Snapchat app. Tap the Memories icon to the left of the camera shutter button. At the top of the Memories screen, you'll see the Spectacles icon. Tap it to jump to the Spectacles page we last saw in Step 2. You should see a message that new Snaps are being imported.
Step 5: Edit Video to Add Effects
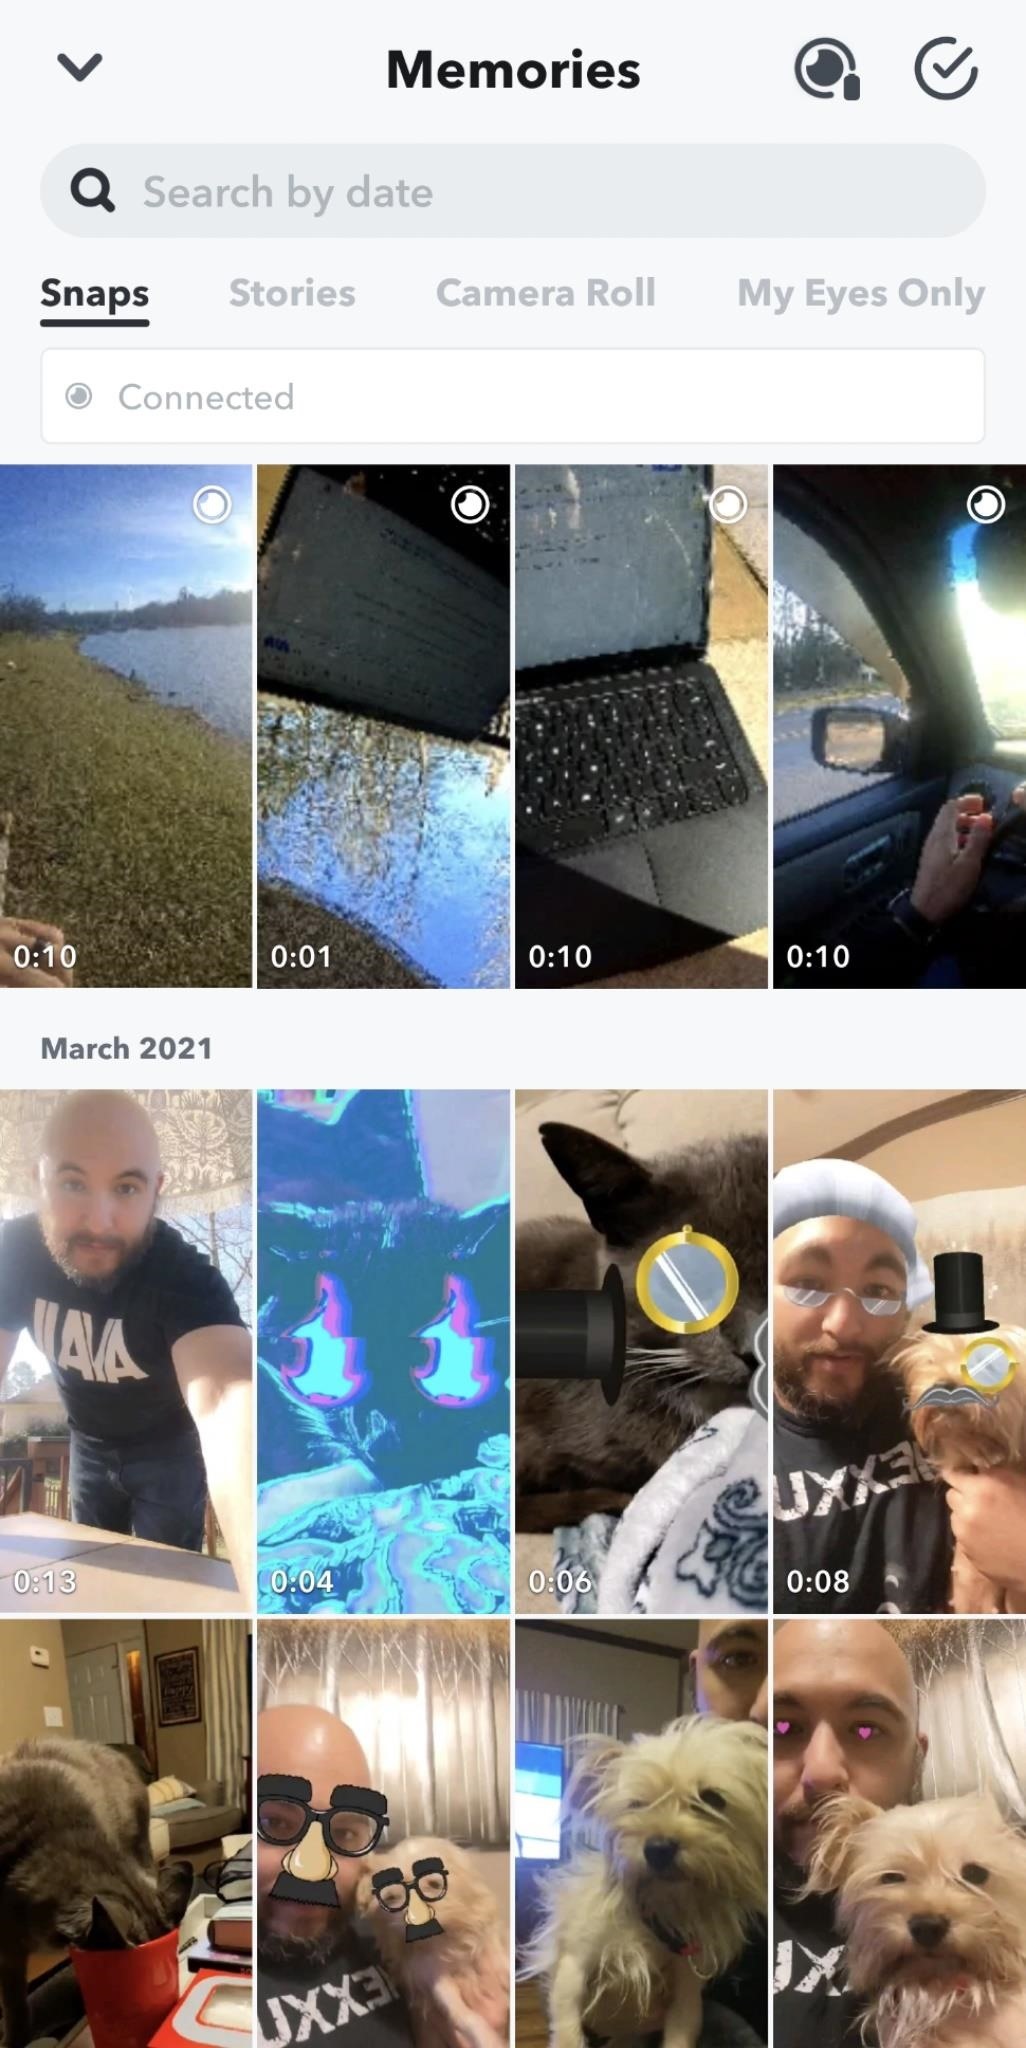
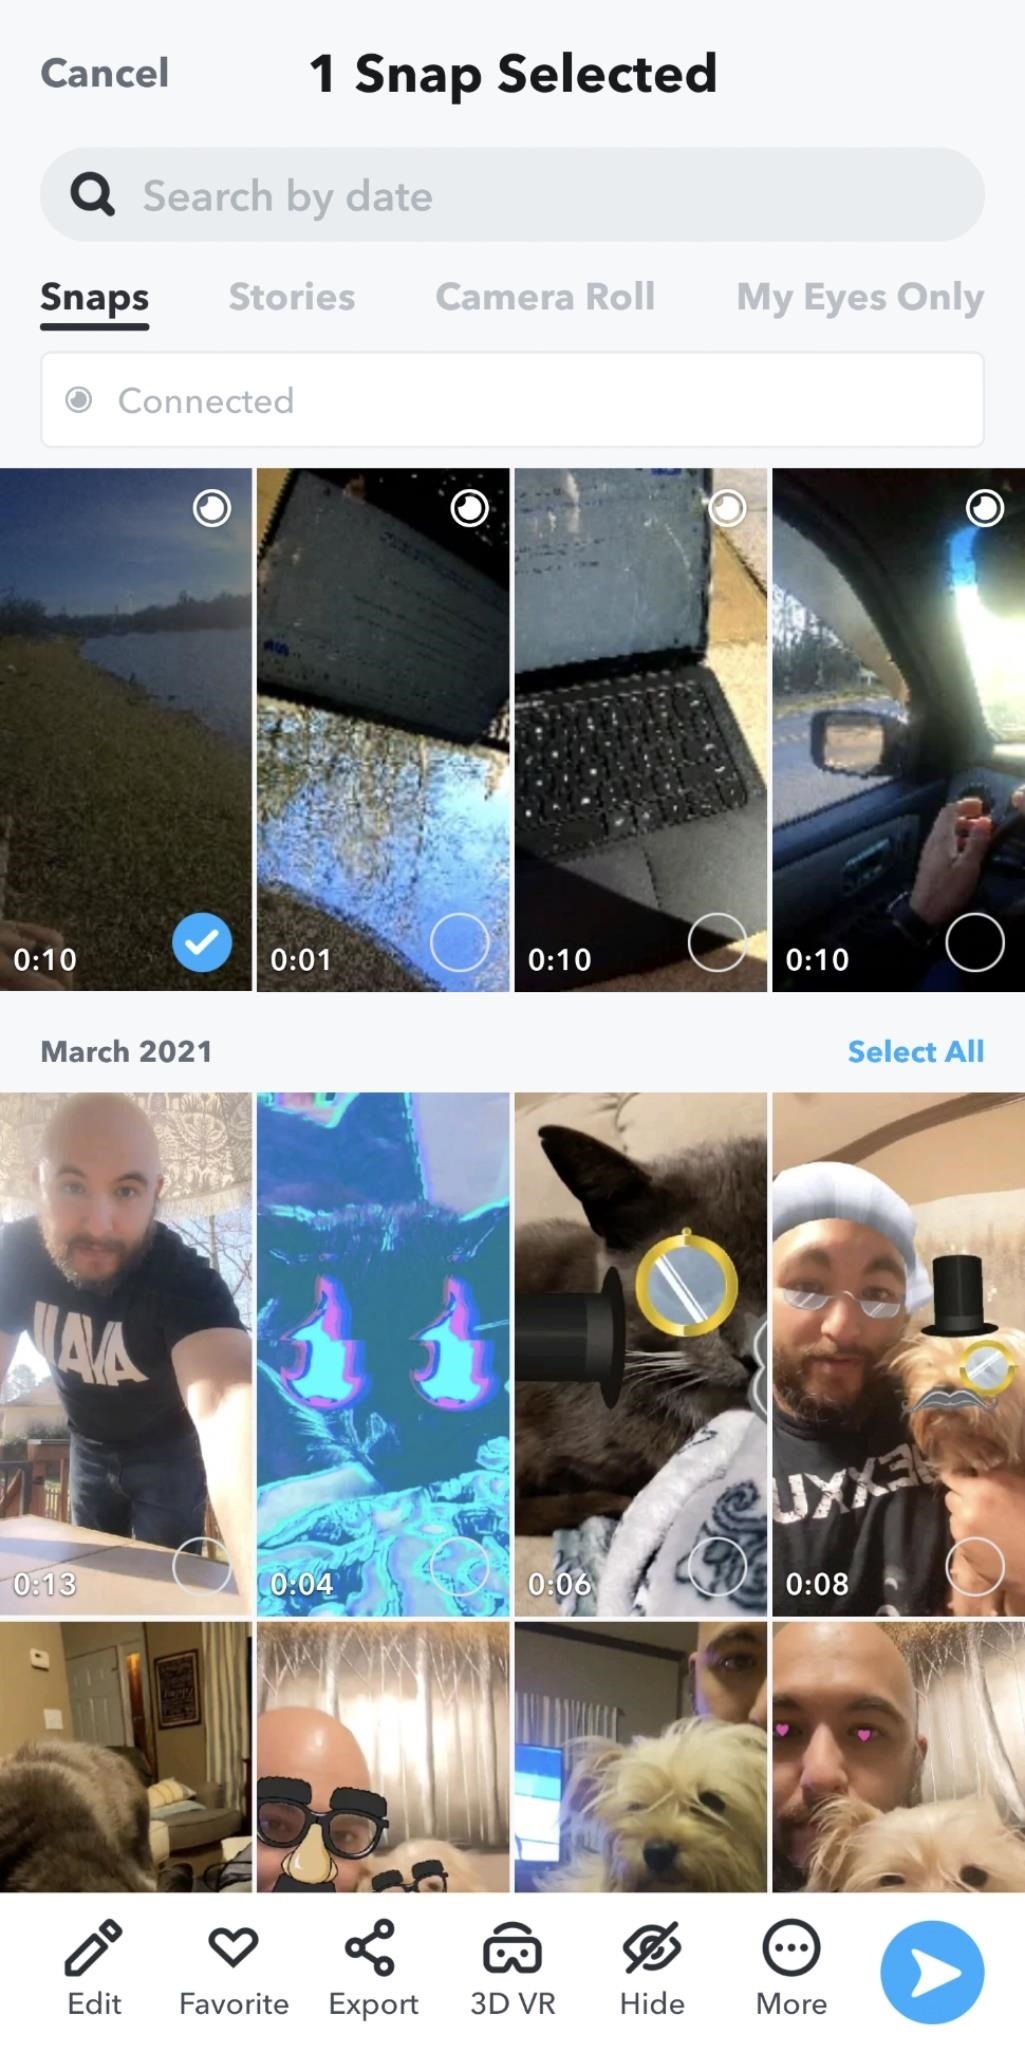
Back on the Memories screen, find the video you want to add augmented reality effects to. They are marked by a Spectacles icon. Long-press it, then tap Edit from the menu ribbon appearing at the bottom of the screen.
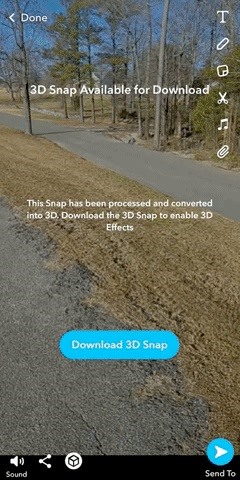
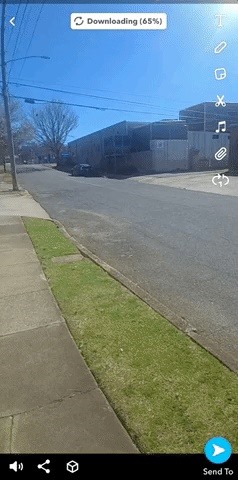
Your first time through, you'll get a note to download the 3D Snap for editing. Tap the button to continue. You should see a toast message showing the progress of downloading 3D content, and then a message confirming that 3D effects are enabled.
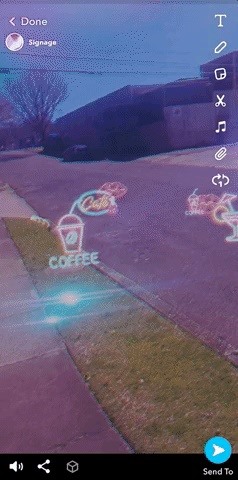
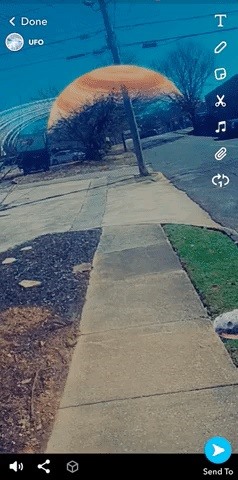
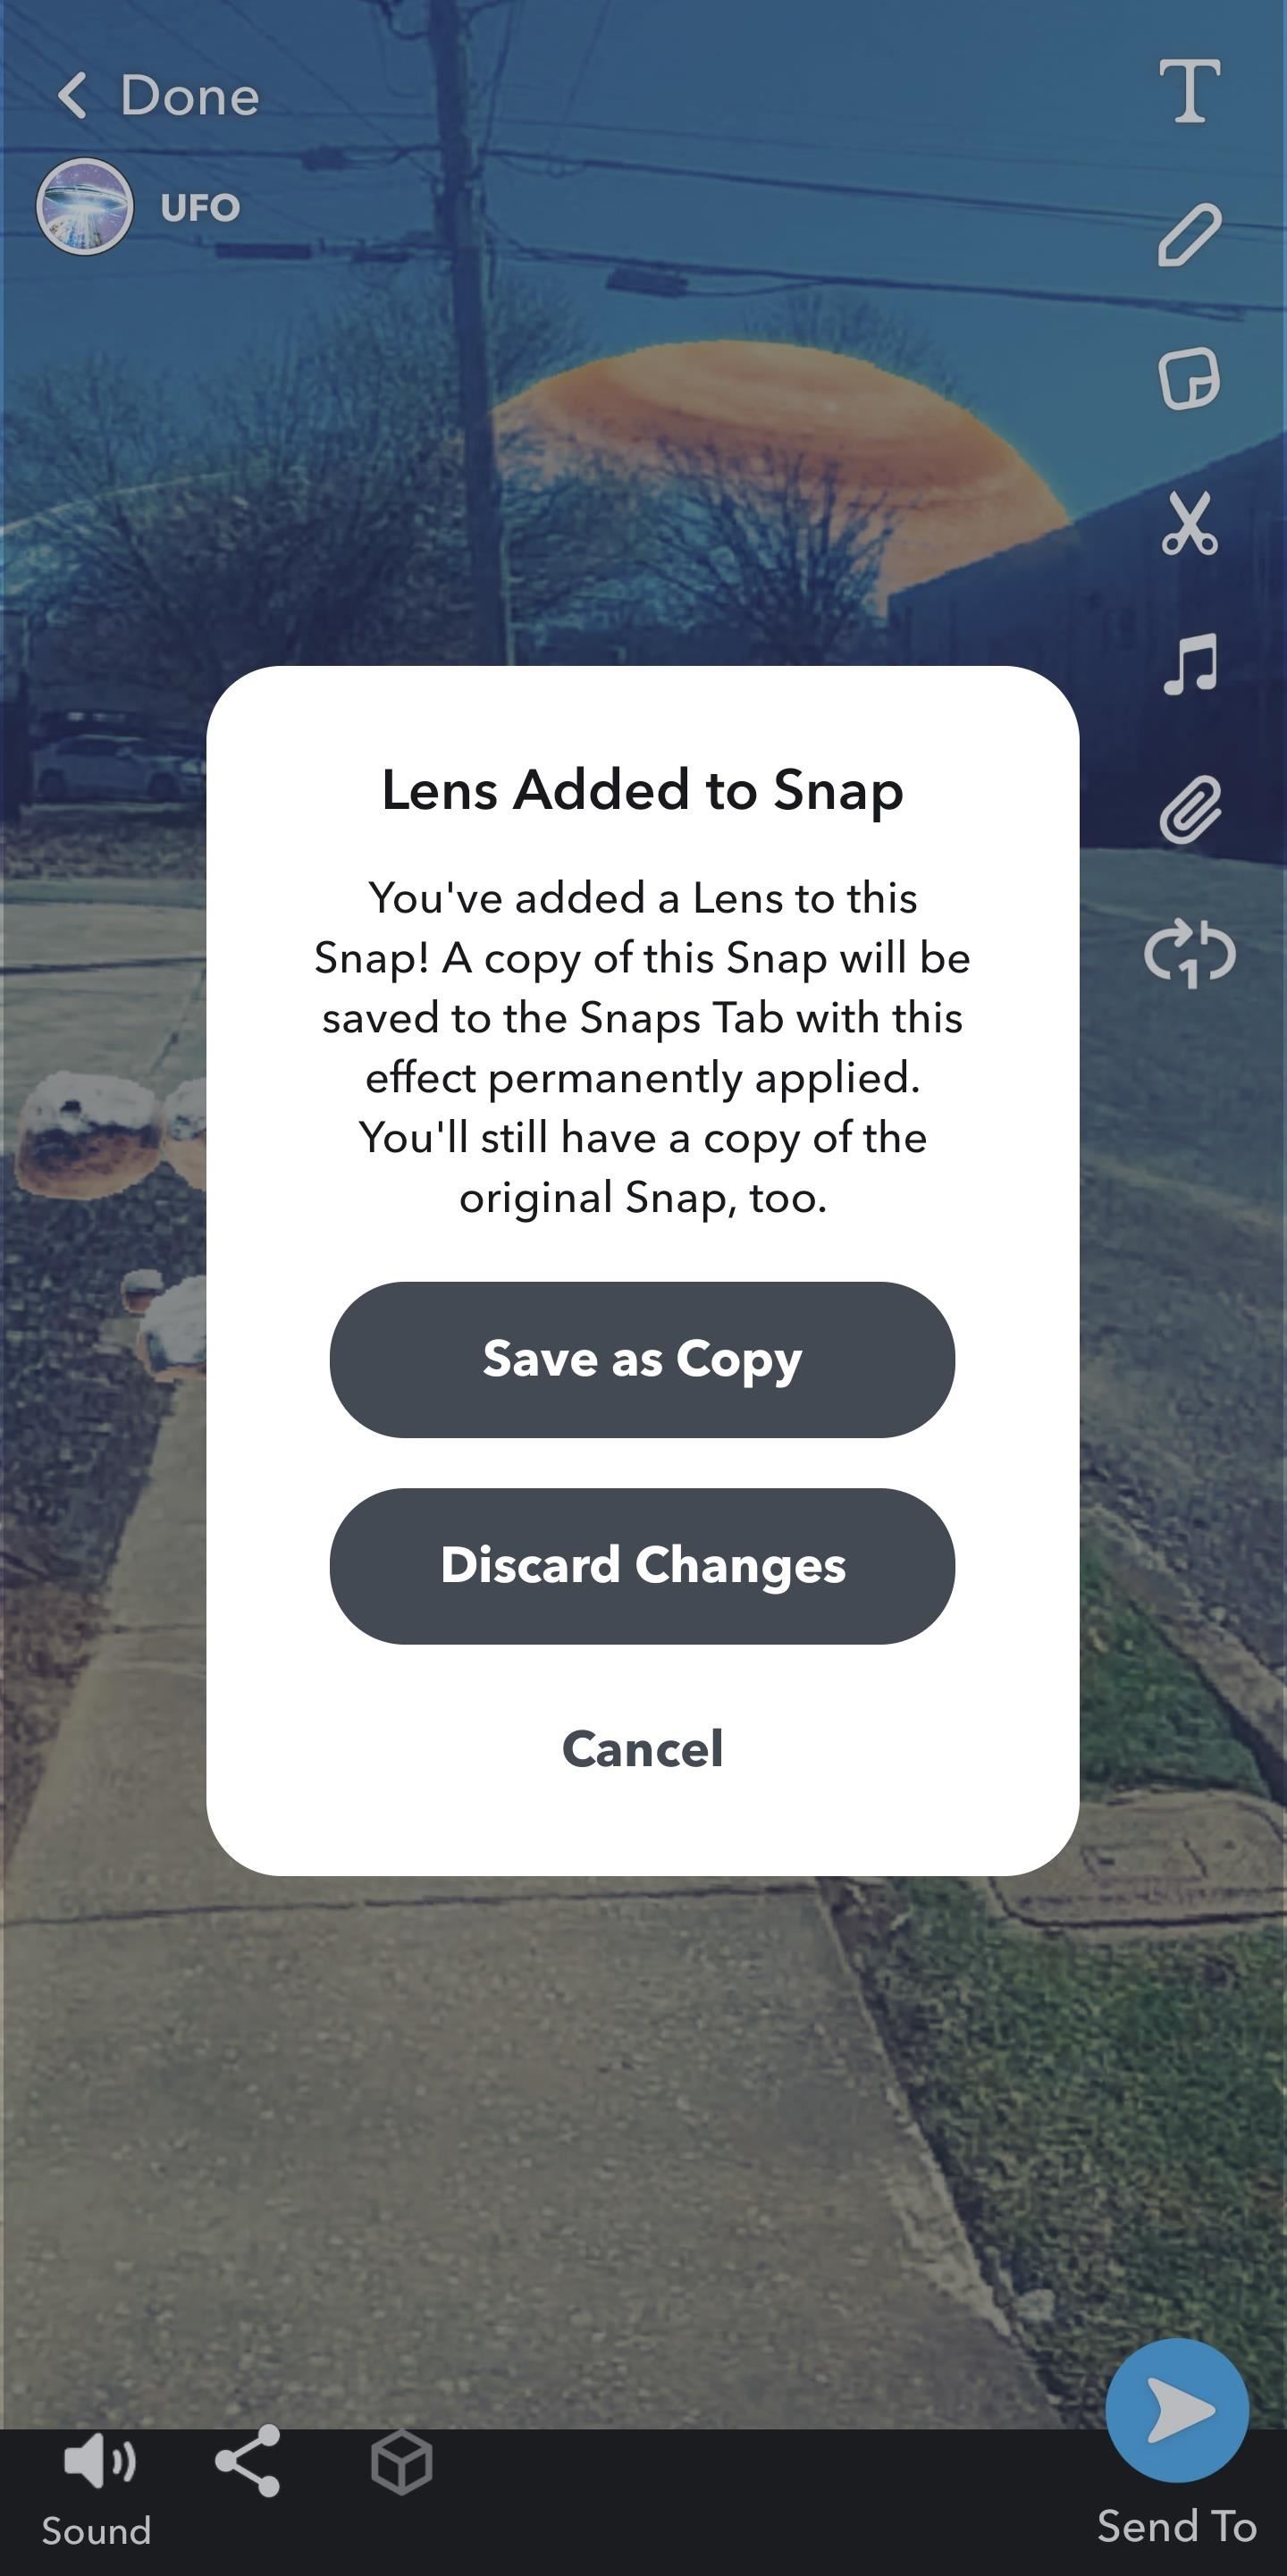
Your first time working with a 3D video, you'll get a hint to swipe for 3D filters. As your video loops, swipe from left to right to cycle through AR Lenses. As you review the options, note how the AR effects interact with the scene in your video. For instance, some Lenses, like UFO and Snapchat mood, use sky segmentation to add effects over the horizon. Also, rotate your device to see the wide-angle view and the effects that are hidden in the periphery.

Step 6: Save & Share
Once you're happy with your work, you have three options for saving and or sharing.
First, you can tap Done at the top left corner and then tap "Save as Copy" to add the revised clip to your Memories library.
Second, you can tap "Send To" at the bottom right to share with your Snapchat friends or add to your Story.
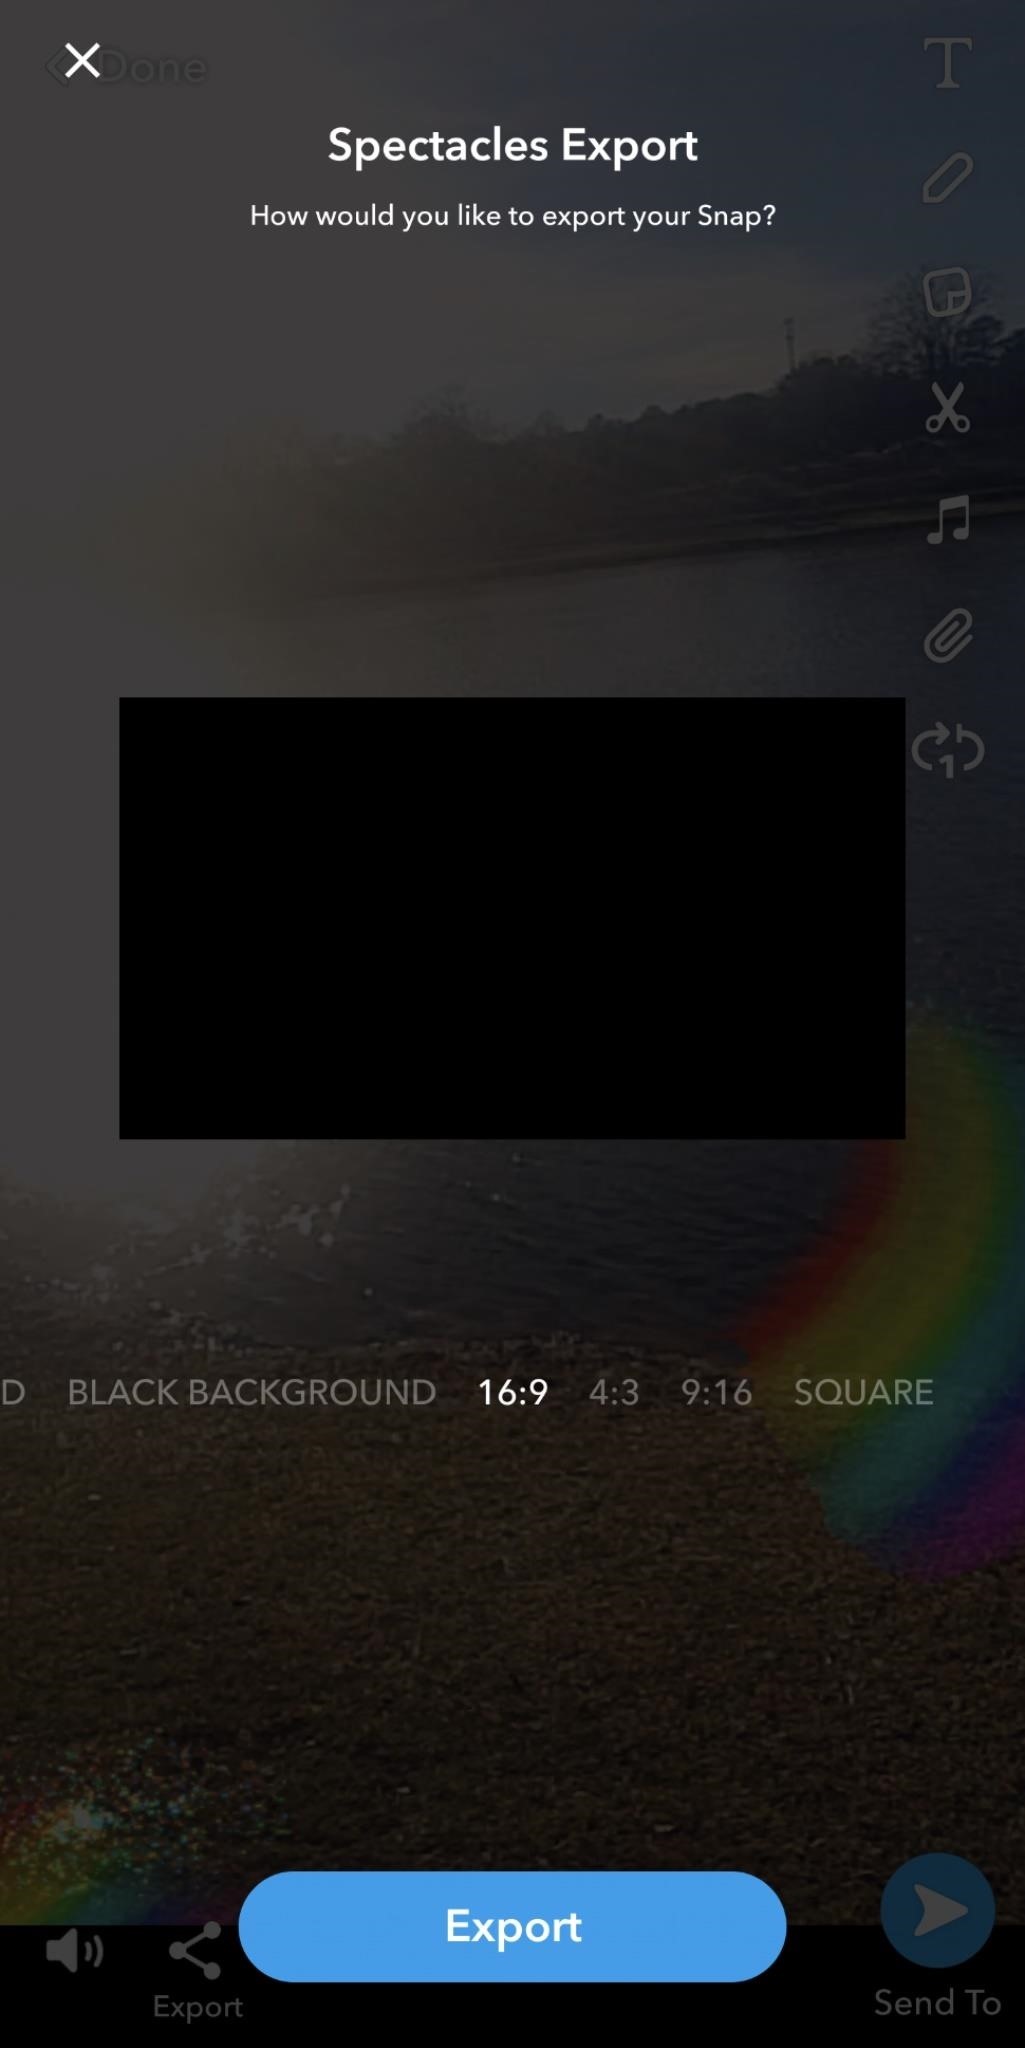
Third, you can export the clip with the share icon at the bottom left. Doing this will present a carousel of export options. Scroll to the one you prefer, then tap Export to download the clip to your camera roll. (You can also export videos from Memories when you save a copy.)
Now, you can return to Step 3 and repeat the process again!


Just updated your iPhone? You'll find new emoji, enhanced security, podcast transcripts, Apple Cash virtual numbers, and other useful features. There are even new additions hidden within Safari. Find out what's new and changed on your iPhone with the iOS 17.4 update.


Be the First to Comment
Share Your Thoughts